GROWING ORGANIC KOHLRABI
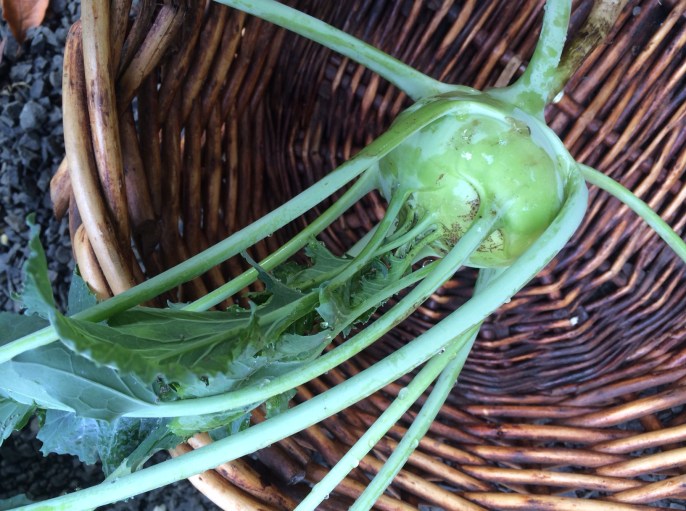
Kohlrabi is a delicious vegetable that is easy to grow in the intermountain climate, yet it is relatively unknown. It is a form of cabbage, in the mustard family, the Brassicaceae. It is botanically classified as Brassica oleracea var. gongylodes. Kohlrabi is more well-known in Europe and Asia than in the U.S. and well deserves better recognition and use here. This vegetable takes less space than other cabbage family member, is easy to grow and it is more tolerant of heat. Insect infestations do not directly affect the most desirable part of the plant, the swollen stem. Yes, the sweetest, juiciest part of the plant is its stem, which swells with moisture and goodness as the plant grows. The leaves are edible also, and can be used like cabbage, but the spherical stem can be peeled and cut into cubes; or shredded; or sliced to eat fresh alone or in salads. The stem is also good cooked and can be used in casseroles and soups.
Several varieties of kohlrabi are available today, several of them open-pollinated heirloom types. ‘Early White Vienna’ (55 days) has been grown since the 1850s and is probably the most popular one in gardens. Early Purple Vienna’ (60 days) from before 1860, is a purple variant of the white. Both types are remarkably heat and cold hardy for Brassicas. ‘Superschmeltz’ (65 days) is a giant kind of kohlrabi with stems weighing up to 10 pounds. This last variety can be left in the garden longer than the other two as it does not tend to become “woody”. Consistent watering will improve the sweetness and tenderness of this vegetable. Mulching kohlrabi with 3 or 4 inches of rotted straw will preserve moisture in the soil and will enable you to have great results with less watering, while keeping soil microbes alive. It is noteworthy that mulched soils are living soils, with abundant soil fungi and microbes that can capture carbon out of the atmosphere. Keep in mind that bare, un-mulched soils dry and erode, and actually release carbon rather than capture it.
Organic production of kohlrabi is not difficult. If you end up with an abundance of cabbage loopers and aphids, the swollen stem will be peeled and so is less affected visually by insects. However, production will be much higher if you place row covers with breathable insect fabric over your crop and mulch heavily. Your other Brassicas will benefit from this technique also—there will be no holes in cabbage leaves or worms in the cauliflower and broccoli. BT, or Thuricide (Bacillus thuringensis) can be used, but it is better for the environment to simply cover all crops rather than spray. Insects develop resistance to BT over a few generations, so it should be reserved for use in special circumstances.
In Western Montana, we direct sow kohlrabi out April 21-May 1 depending on weather, for harvest in July-early August. Plants can be started inside about March 1 to be set out around April 15, and harvest would begin in late June. A second crop (in the same space in the garden) could be direct-seeded around July 15-Aug. 1 following the first crop’s harvests. Some gardeners plant a new row of kohlrabi every three weeks all season long. It is ok to plant in the same space within one season, but remember to rotate your crops year to year. Do not plant the any members of the cabbage family in the same place they grew the previous year; in fact for the previous three years. A four-year rotation of vegetable crops in your garden will feed your soil and reduce insect and disease infestations.
The germination temperature for kohlrabi is 40-100 degrees F. with 45-95 F. being ideal. Germination time is usually 3-10 days. In my experience the percentage of seeds of kohlrabi that sprout is usually low, so plant extra seed in pans or outside when seeding direct. Water regularly, steadily, and evenly; keep moist, not wet. Be sure to thin the plants if you direct seed, and mulch when they are about three inches high. Pests include gophers, root maggots, aphids, cabbage worms, cabbage loopers, diamond back moths, and flea beetles. Diseases that can appear are: clubroot, alternaria blight, blackleg, black rot, downy mildew, fusarium wilt and wirestem. It has been shown that soils with a higher pH will reduce the chances of some diseases. The best soil pH for Brassicas is 6.0-7.5. Kohlrabi grows best in cool summers, but we still had a great crop last year, which was during the hottest summer any of us remember here in Western Montana.