SAVING SEEDS FROM YOUR GARDEN

Standard

fullsizerender-3


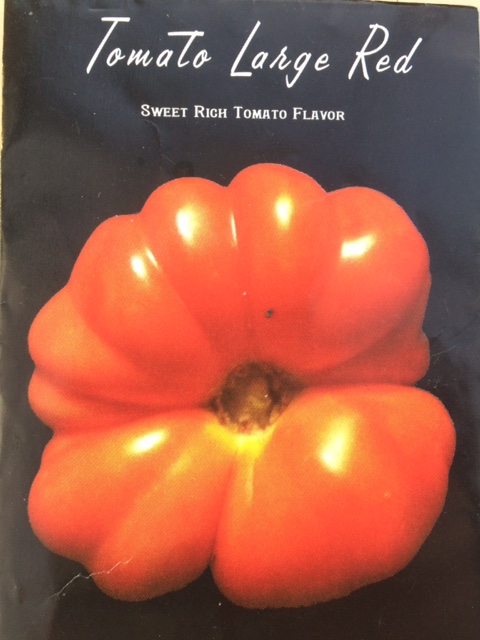
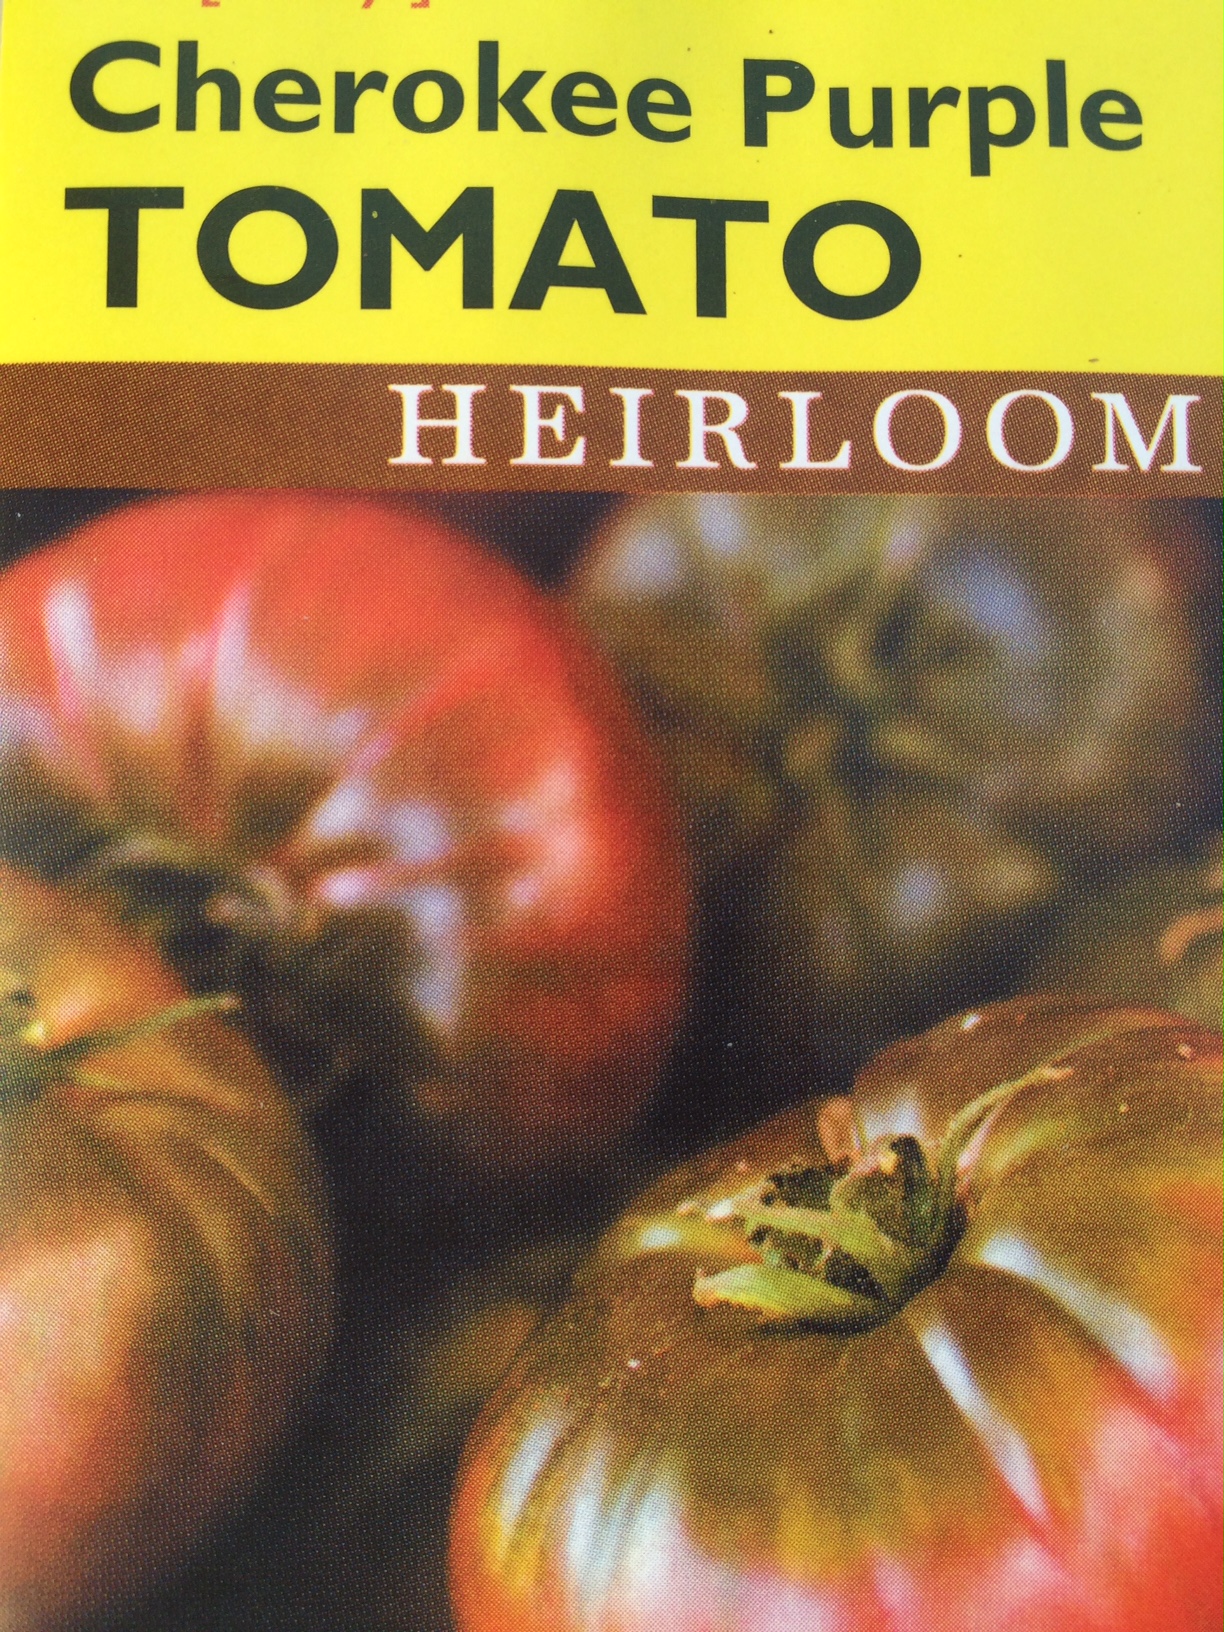
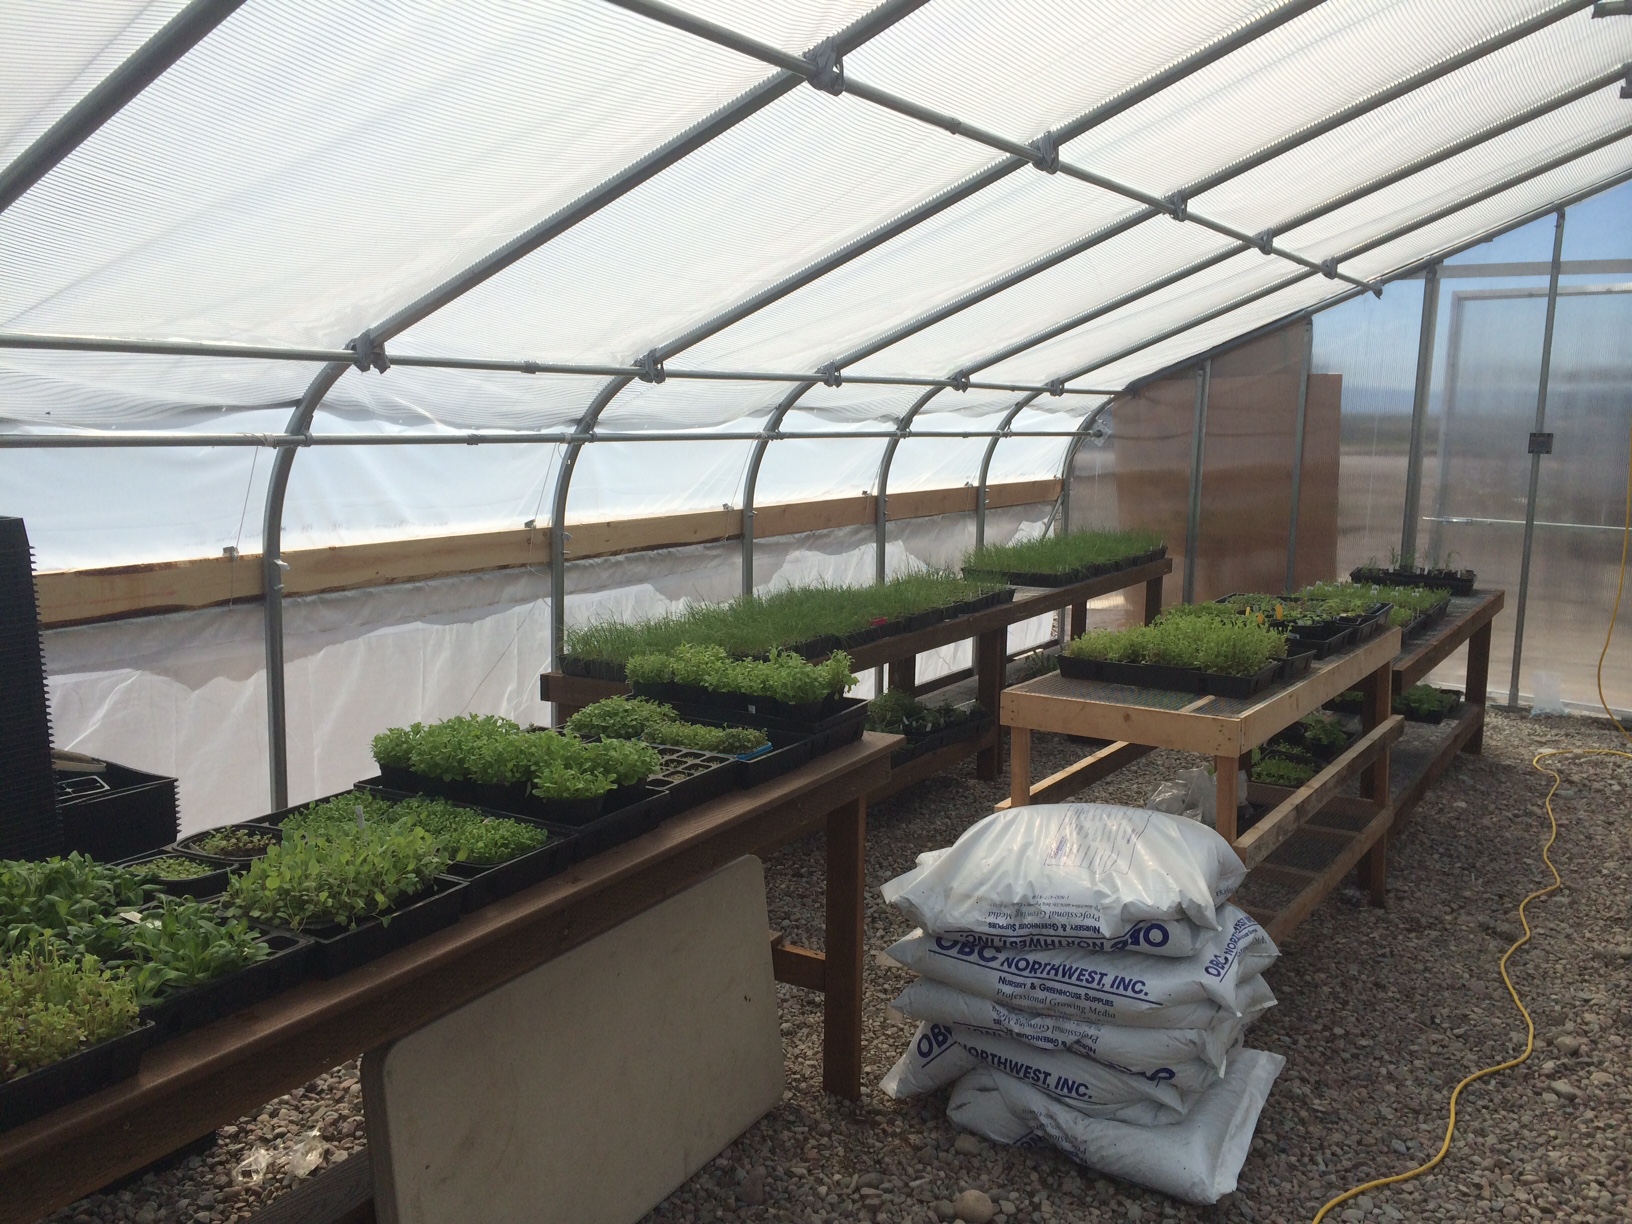
An excellent way to preserve a favorite vegetable variety is to harvest and save the seed from your own garden plants.  This can be done with all open-pollinated (non-hybrid) vegetables.  Hybrids are pollinated by humans for a specific resulting plant.  (Seeds saved from hybrids will not produce the same fruit or vegetable you grew.)  Many rare, open-pollinated heirloom vegetables and flowers have been saved and passed down for generations.  Some Native American kinds of squash, corn, beans and sunflowers have been passed down by various tribes for over a thousand years!  Several heirloom kinds of lettuce, peppers, pumpkins, squash, tomatoes and other vegetables still exist from Colonial and Victorian times.

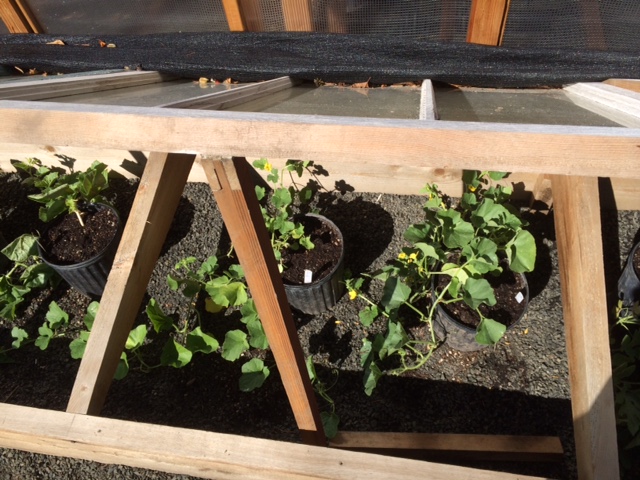
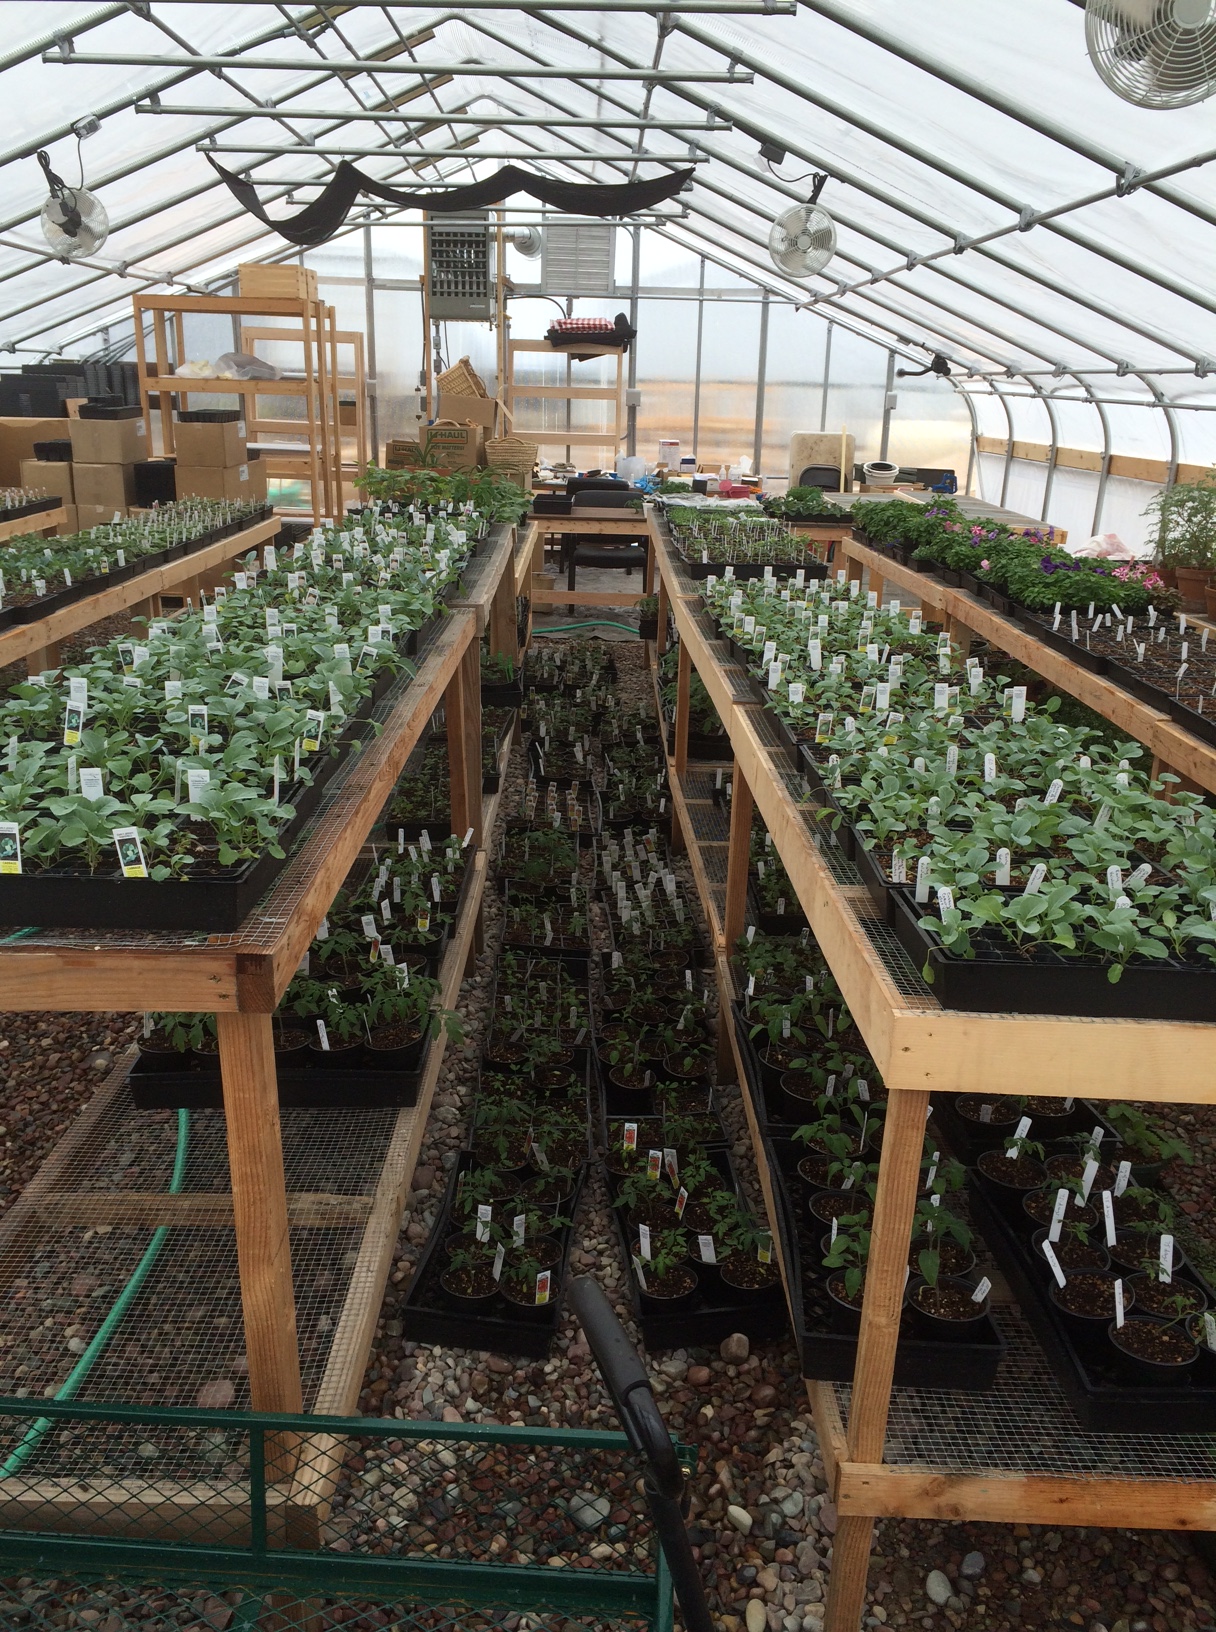
Locally adapted varieties will be the most successful and productive.  You will need to save about 100 to 150 seeds of each cultivar you want to save.  Some easy vegetables to begin with are tomatoes, beans, peas, and lettuce, which are all self-pollinating and easier to keep true to type; they can also be cross-pollinated.  Other vegetables need to be cross-pollinated to produce seed and will cross with other nearby plants of the same genus or species.  Each variety needs to be isolated so it will remain true to type.

Isolation may be accomplished by distance; staggering maturity dates; by caging, or bagging.  For most vegetables 200 feet of distance is enough to retain genetic purity, but some, such as corn, need a mile or more.  Staggering maturity might be accomplished by planting two strains of corn, one maturing at 65 days and another at 80-85 days.  Pollination of the early variety will be finished by the time the later one is ready to pollinate.  Cages can be built and covered with row cover fabric to isolate radishes, beets, turnips, carrots, parsnips and onions.  A bait of honey spread upon a plate will attract bees into an uncovered cage.  When about 15 bees are present, cover the cage for an hour or two; release the bees before sunset. There are three species of squashes and pumpkins commonly grown so you must research this if you want to keep your strain pure.  Corn, squash and pumpkins can be hand-pollinated if bagged.

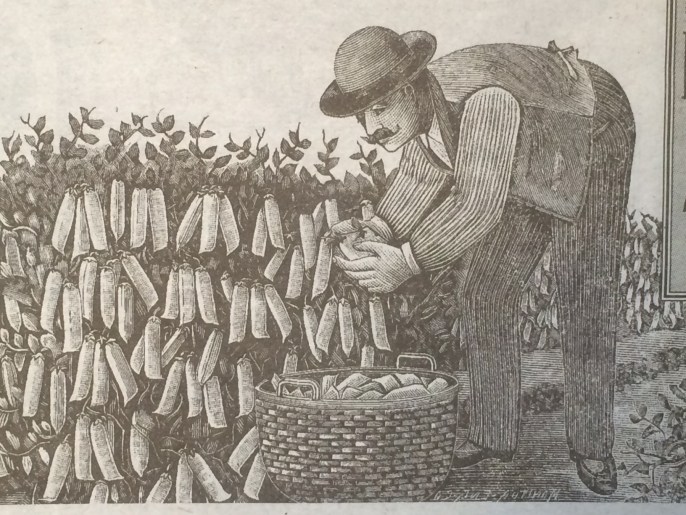
In the garden, give plants grown for seed more space to accommodate tall seed stalks.  Select the most healthy, robust plants to save seed from.  The fruit should be riper than that used for eating.  Usually fruit will turn yellow, soften and sometimes even begin to rot before seeds are mature.  Pea seed turns green or yellow; beets, beans and watermelon seeds darken; peppers and squash seeds are usually white, and corn seed (especially sweet corn) will dent and shrivel.

To process seed for storage, remove pulp, juice or flesh and dry the seeds on a fine screen because seeds will stick to paper or cloth.  A float test will show viable seeds.  Those that float will not grow.  Dry the seeds to about 10% moisture before storing away in glass jars with metal lids.  Glass jars are the best way to keep out humidity, which might cause your seeds to sprout and die in storage.  A cool, dry place is best for storage, or you may place the jars in the refrigerator.  Label your seeds carefully to keep good records.

SEPTEMBER GARDENING CALENDAR

Standard

IMG_0667

SEPTEMBER GARDENING CALENDAR

GENERAL

Harvest beans and other crops; remove blossoms from eggplant and peppers to ripen remaining fruits.  Cover sunflowers from birds, pinch tomato tips.  Lay down grass turf.  Watch for slugs and snails, cultivate to destroy grasshopper eggs.  Also, watch for corn earworms.

VEGETABLES

Cultivate or hoe around cabbage, cauliflower, broccoli, turnips and celery.  Keep late maturing cauliflower and broccoli well-watered.  Transplant out starts of endive the first week of September.  Plant garlic and shallots and over-wintering onion sets.  Direct seed outside: arugula, lettuce, radishes, cress, corn salad, chervil and kale.

If you plan to grow crops under tunnels or in a cold greenhouse over the winter, plant seed (early in the month) of crops for winter use: chervil, kale, spinach, lettuce, radishes, corn salad, and winter cress.  Later in the month, from the 20th to the first week of October, plant seeds of cabbage, cauliflower and other brassicas for transplanting out into tunnels in OctoberHave winter cover ready by October 1.

Make beds for growing mushrooms.  Well-rotted horse manure is excellent for mushroom beds.

Gather ripe seeds of any vegetables (or flowers) you want to save seed from.

Watch outdoor temperatures and bring in house plants if frost threatens.

FLOWERS

Prepare beds for planting bulbs.  Sow seeds of bulbous flowers collected in summer.  Take cuttings of violets and pansies; plant cuttings out in early spring.  Transplant peonies and lilies.  Dig dahlias after killing frost.  Transplant pinks and carnations with root ball intact late in the month.  Late in the month, plant out perennials and biennials where they are to bloom.  Also, most perennials can be divided now and replanted where they are to bloom.


FRUIT

Gather ripe fruit from apples and pears.  Remove diseased fruits and “mummies”, rake up leaves under fruit trees and destroy them (to prevent apple scab).  Prepare equipment to make cider.  Finish budding apples.  Prepare beds for planting fruit trees, using well-rotted manure, digging down 18 inches.  Take cuttings or make layers of gooseberries, currants, honeysuckle, and other trees and shrubs.  Plant seeds of fruit trees: cherry, plum, apricot, apple, pear, etc.

Keep strawberries free of weeds and the soil moist.  If you plan to force strawberries in winter, now is the time to take them up and pot them.  Cut a root ball out with a knife, trim off dead leaves and runners and pot into 7 or 8 inch pots.  Place them in shade and water well.  Then plunge the pots in earth up to the rim.  Take them up and into frames or greenhouse before cold weather.

Protect ripening grapes from birds with netting or gauze; keep weeds away from plants.  If wasps are a problem, hang containers of sugar water to catch them.  Prepare to make wine if desired.

TREES, SHRUBS AND ROSES

Trim branches of evergreens and walnut trees, so wounds will heal before winter.  Keep weeds cleaned out from nursery beds and plantings of young trees.


Standard

AURICULA PRIMROSES

When we think of primroses, the first thing that comes to mind are the ‘Pacific Giant’ hybrid primroses we see in garden centers.  Actually hundreds of species of Primula are in existence, and some species have been brought into gardens and significantly developed.  The auricula primroses, members of the species P. auricula, have been grown in gardens since the 1500s.  They have evergreen leaves that curl around in a way that resembles the ear of a bear.  When first cultivated, they were called ‘Bear’s Ears’.  Charles l’Ecluse (known as Clusius) is the first person known to have grown auriculas in a garden.  This was after 1573; he grew two kinds.  The first auriculas grown in England are illustrated first left above, in a woodcut from Gerard’s Great Herbal of 1596.  By 1639, at least 15 different colors and even striped forms were grown.  Auriculas were a popular plant beginning in the early eighteenth century when keen collectors began to grow and exhibit them in competitions.  These growers were called ‘florists’.  Several specialized classes of auriculas came into existence over the following centuries.  Potted plants were (and still are) exhibited in flower on black painted shelves in a stage-like display.  The black background highlights the beautiful colors of the flowers.  Auriculas do have an extremely wide color range, much greater than practically every other kind of flower.  The second picture shows a tawny-colored auricula, a color popular in the 1600s.  Auriculas were extremely popular in the nineteenth century, but curiously, are not well-known today.

Auriculas are native to the Alps and prefer gritty, moist, well-drained soil with a good amount of humus.  They are tolerant of alkalinity and extremely winter hardy to USDA climate zone 3, or even zone 2 if covered with snow all winter.  This means they are perfectly suited to growing all over Montana.  They are shade plants, especially when grown at lower altitudes.  The individual plants are small, only about 8 to 12 inches tall when blooming.  The engraving third from left depicts a garden auricula from 1908.  A gardener must watch that vigorous neighboring plants do not overtake them.  Being evergreen, they grow rather slowly.  I found that a mulch of sharp grit, about the diameter of turkey grit, is excellent for them and will discourage slugs.  Auriculas thrive when grown organically and enjoy soil amendments such as bone meal, composted manure, kelp meal, wood ashes, and grit for excellent drainage.

The classes of exhibition auriculas are usually grown in pots and are smaller and less vigorous than garden auriculas.  The pots used to grow them are taller than average, as the plants have a long tap root.  Growers commonly use an organic soil potting mix with added grit, bone meal and wood ashes.  Grit is especially important for drainage, but also for itsmineral content.  Indeed, the flowers have a wonderful mineral-floral fragrance unlike any other.  The last picture above shows a double exhibition auricula.

Auriculas are available from specialist growers as plants or seed.  I grow mine from seed planted in a fine, fast-draining seedling mix, covered with glass and placed in a shaded cold frame.  I plant seeds in late fall or winter, so the seeds have a cold period before they sprout in the spring.  The plants are usually large enough to pot on by midsummer.  Mature plants are best divided  midsummer.  I would urge gardeners to try auriculas; they are beautiful and rewarding to grow.  If grown in the garden, they might be best appreciated in raised beds, where their delicate flowers can be observed.

GROWING VEGETABLES IN CONTAINERS

Standard

IMG_0677 IMG_0678

My pictures show heirloom French cantaloupe ‘Prescott Fond Blanc’ and ‘Ananas D’Amerique a Chair Vert’.  The containers were too small to mature the fruit, so I repotted them into much larger 24″ by 24″ pots.  The frame helped ripen the fruit in the climate of cool western Oregon. 

Raising vegetables in containers is an excellent option for those of us who are living in a dwelling temporarily, are short of space, or have poor soil.  Containers are useful and versatile; pots can be moved around if a location is too hot, windy or shady.  Plants that enjoy heat, such as melons, squash, peppers, tomatoes and eggplant can be placed in front of a warm south or west wall to ripen faster.  Also, if spring cold weather threatens, pots may be moved inside overnight, or even a few days for protection.  The same advantage applies to the fall season; if weather turns cold and your crop is not yet ripe you can bring pots inside.    

Containers for vegetables should be at least 12 inches by 12 inches for a single tomato or eggplant, but much larger containers are needed for melons, squash and pumpkins—at least 24 inches by 24 inches for each plant.  Smaller crops, such as carrots, beets, broccoli, cabbage, Swiss chard, spinach, lettuce, etc. need a container at least 10 inches deep, and yields are better if the pots are 24 to 36 inches wide.  For peas and beans, some gardeners have good success with containers shaped like long rectangles, perhaps 12 inches wide by 48 inches long and 10 or more inches deep.   It is easier to move your containers around if you have them on rollers.  And if you build your own containers, use non-treated water-resistant wood such as cedar, redwood or cypress.  The new fabric containers are useful, reusable and inexpensive, but cannot be moved during the season. 

The soil mix for vegetables should be rich, moisture-retentive, but quick draining.  Plant roots need air to thrive.  I use a mix of two parts organic potting soil, one part rotted manure or compost, and one part perlite or sharp sand.  Consistent, frequent applications of manure tea, liquid seaweed or a complete organic fertilizer will keep your vegetables growing well. 

Watering is very important when growing in containers.  Check plants every day all season long.  If weather is hot and the plants are large, you might have to water two or three times a day.  Automatic drip watering systems are an option if you will be away for a few days. 

When planting seeds, follow directions on the package and read about how to care for each vegetable.  “Patio”, “bush” or dwarf varieties of vegetables are good choices for containers.  They tend to be compact, productive plants with normal size or slightly smaller fruit.  Vegetable seeds that can be planted now (July) include: lettuce, spinach, peas, radishes, carrots, corn salad, and Swiss chard.  Plant starts of cabbage, cauliflower, broccoli and kale can be planted now for late fall harvest.  Starts of tender vegetables that can be planted in containers now include: tomatoes, squash, pumpkins, cantaloupe, watermelon, eggplant and peppers.

GROWING HEIRLOOM TOMATOES

Standard

FullSizeRender (11) FullSizeRender (6)


Tomatoes are native to the Andes Mountain region, a region of varied climates.  The kind of tomatoes most frequently grown in our gardens are botanically classified as Lycopersicon esculentum.   Tomatoes are easy to grow in Western Montana if given the right conditions in the garden.  The site should be sunny and protected from wind, but with some airflow.  If grown in too close or crowded conditions tomatoes can succumb to disease.  Fortunately, in our area, the air is usually pretty dry, meaning humidity is usually low (when the sun is out).  Good soil is important.  I amend my existing soil with manure, bone meal or rock phosphate, alfalfa meal or wood ashes and greensand.  A good, dark compost will enrich your soil, feed the tomatoes and retain moisture.  If you prepare your soil well, as organic gardeners do, you will not have to feed them at all the rest of the season.  Tomatoes prefer even moisture; if given too little water they will produce fewer and smaller fruit.  If given too much water all at once, especially when the soil has dried out, the fruit often crack and split.  An even, slow watering is best, so the moisture goes deep into the soil.  Leaf roll, blossom-end rot and cracked fruit can be prevented by careful, even watering—aim for moist soil always, not wet or dry.

Tomatoes are naturally a vining plant, though they have been selected over the centuries to be shorter and bushier.  This is especially true of more recent seed strains.  Many of the oldest heirloom tomatoes are tall plants that require support in the form of a tomato cage or wooden frame, or a trellis.  One example of a tall heirloom tomato is ‘Purple Cherokee’, which grows over six feet tall!  It is important to keep the fruit of the ground and leave space around your plants.  This will help prevent disease.  It is best to water tomatoes in the morning and avoid wetting foliage in the evening.  This will reduce or prevent late blight (spots on leaves and fruit).  Other diseases include: powdery mildew, verticillium wilt, and fusarium wilt.   If you suspect disease, your county extension agent or other specialist can help you diagnose these problems and recommend remedies.  This is important in our region, to protect our potato industry.  Potatoes are related to tomatoes and subject to many of the same diseases.  Sulfur and copper fungicides are two available OMRI listed, certified organic disease controls.

Deer are a primary pest in our gardens; gophers and voles are quite damaging, too.  A tall (seven foot) fence helps prevent deer, and hardware cloth under a raised bed is a good way to prevent gophers and voles.

One more issue to watch is proper pollination of your tomatoes.  Fruit will not set well if daily high temperatures do not reach 55 degrees; conversely, fruit will not set if temperatures are over 100 degrees.  Historically, we have had troubles setting fruit with our cold days and nights, but nowadays with warming temperatures, the daily high temperatures might become an issue.

Here is a list of some wonderful open-pollinated heirloom tomatoes that do not have too late a season for Western Montana:

‘Glacier’ (55 days) is a dwarf, bushy variety with potato-like leaves.  The fruit are 2” to 3” and red to orange.  ‘Glacier’ produces well in cool climates and has excellent flavor for an early tomato.  No pruning or staking is needed for this variety.

‘Bison’ (65 days) was developed in North Dakota in 1937.  It is another dwarf variety that sets 3” deep red tomatoes even in cool weather.  ‘Bison’ can produce as much as 40 pounds of tomatoes from one plant.  This variety requires no staking or pruning.

‘Persimmon’ is an orange, persimmon-colored tomato that originated in Massachusetts in the mid-1800s.  It is rare today and reasonably early, (75 to 80 days).  The flavor is very good, low-acid; the fruit reaches about one pound.  This is a great tomato for salsa!

‘Large Red’ (80 days) is one of the oldest and rarest tomatoes.  It originated in Massachusetts, in the 1820s, and was grown by the Shakers.  Pioneers brought is west on the Oregon Trail.  It is a tall plant with convoluted red fruit resembling the pumpkin that became Cinderella’s coach.  12 oz. fruit is common, as it is a beefsteak-type.  ‘Large Red’ has a sweet and rich flavor.

‘White Shah’ (80 days) is an heirloom from the 1880s; a very mild, flavorful, white tomato.  The fruit are quite large, 8-12 ounces, and the plants have potato-like leaves.  ‘White Shah’ was the healthiest tomato I grew last year, and one of the best for flavor.

‘Pink Brandywine’ (80 days) is another tall plant, potato-leaved, with delicious, pink fruit.  It is the most popular heirloom for flavor, though the plants are more disease-prone than most tomatoes.  Good culture should prevent or minimize these problems.  ‘Pink Brandywine’ is one of the best for tomato sauce.

‘Cherokee Purple’ (80 days) originated with the Cherokee people and was brought west to Oklahoma on the Trail of Tears.  The plant is very tall—six to seven feet!  Staking and/or caging is necessary.  The fruit are large, flavor is among the very best, and fruit sets fairly early.  Prepare your soil well, as this variety is not usually as productive as some.


Moving the Heirloom Garden to Montana

Standard

FullSizeRender (2) IMG_2404 IMG_2433 IMG_2545 (1)

Hello everyone!  I have been moving our garden of heirloom plants to Ronan, Montana, where I will be joining the staff at Westland Seed, Inc. as greenhouse/nursery manager.  The pictures above show our progress.

We will have our grand opening May 20th and 21st!  All our plants are grown using OMRI certified soils, fertilizers and management techniques.  We feature heirloom plants from the pioneers in America, old varieties from Europe, Asia, the Pacific Isles; things from all over the world. of special interest are more than 30 varieties of Native American vegetables and flowers.

Our soil mix is made from a certified organic composted buffalo manure, with other certified organic ingredients added.  (see our previous posts on soil mixes for ideas.)   The potting mix we amend for our bedding plants and vegetables is produced by Buffaloam Company; made from the manure of grass-fed bison, composted for three years.  It is an odorless, friable medium we like.  This primary ingredient is especially appreciated here on the Flathead Indian reservation as it reflects our ancient Native American heritage.

In future posts, I will describe some of our featured heirloom vegetables and flowers.  Almost all of our greenhouse and nursery plants are heirloom, open-pollinated varieties.  We also offer native and medicinal plants  We do NOT offer any GMO plants or seed in our greenhouse nursery.

I will be posting this blog on the Westland Seed website, on the Greenhouse Page, along with future instructional and informational videos, plus an event calendar.  The Westland Seed website is http://www.westlandseed.com

Photographs of Historic Florist Pansies

Standard

photo (134)photo (135) photo (136) photo (137) photo (139) photo (140) photo (141) photo (142)

This week I thought I would show pictures of the Historic Florist pansies I grew from seed.  The top photo is of my pansy bed; the others show the diversity of blooms and colors of antique pansies.  The flowers are fragrant and almost all of the blooms have a “face”.  More information is available in my first blog on this WordPress site, which describes the origin of pansies in England during the 1830s.

This week I am moving to Montana from Oregon, so this blog is one day late and quite brief.  I will manage a new organic nursery and greenhouse—a new division of Westland Seed, Inc., Ronan, Montana.

Happy growing!

April Gardening Calendar

Standard

photo (133)

April is another busy month for gardeners; usually a month characterized by ups and downs in temperature.  Keep watch for frosts; protect cold frames with mats if frosts are imminent, and admit air daily as weather permits.  Finish pruning fruit trees if not done, plant grapes; fertilize and prune blackberries.  Check your fruit trees and roses for pests as soon as they bud and leaf out and set out apple pest traps two weeks before bud break.  Weed and amend all your beds now while it is cool and moist.

Finish planting fruit trees, shrubs, roses, and perennials.  This month is a good time to direct sow (where they are to flower)seeds of several flowers: sweet alyssum, cornflowers, carnations, pinks, poppies, stocks, rose campion, Lychnis, columbines, valerian, honesty, foxglove, snapdragons, mignonette, larkspur, kiss-me-by-the-garden-gate and four-o’clocks.  Perennials still may be divided if weather has not become too warm.  Violets can be divided after blooming and cuttings taken of pansies.  Make cuttings of chrysanthemums, gauras, Helianthus, lupines, Lychnis, Liatris, knautias, saponarias, scutellarias and veronicas.  Dahlias and tigridias may be started inside in cold climates and planted out later after frosts are over, or planted outside if the soil temperature is above 60 degrees F.

Several vegetables can be direct sown if weather permits and it is not too cold: beets, arugula, carrots, caraway, celery, chervil, chives, cilantro, dill, fennel, collards, mache, fava beans, cress, kale, Jerusalem artichokes, kohlrabi, leeks, lettuce, mustard greens, rhubarb, turnip greens, onions, pasley, parsnips, peas, potatoes, radishes, salsify, scallions, spinach and Swiss chard.  Sunflowers and tomatillos can be sown two weeks before the last expected frost.

Corn may be sown after April 15th in cool maritime northwest climates, or a week or two later in the inland and mountain areas.  Usually corn is sown about 10 days to two weeks before the last frost.  Native Americans of the Hidatsa tribe living in the Dakotas planted sunflowers first, then corn, and after frosts followed with beans and finally, squash.  Sunflowers were grown by themselves in a field, but corn, beans and squash were grown together; with corn in hills of 6-8 and beans and squash vining through.

Vegetables started last month indoors may be planted out this month: the brassicas, parsley, Asian greens, rhubarb and tomatoes; once frosts are over.

Prune established roses before bud break and seal the cuts with water-based glue or wood glue.  This prevents drilling wasps from injuring the canes.  Fertilize organically with Epsom salts, manure or compost, bone meal or rock phosphate, alfalfa meal and seaweed or wood ashes.

A few things maybe grafted now: grapes, hollies, pears, maples, pines and clematis.  Layers can be made of Cotoneaster, Cotinus, Hydrangea, Lavandula, Lonicera and Parthenocissus. 

Enjoy spring!

Starting Seeds Indoors

Standard

photo (127) photo (128)

Many of us get a good feeling from planting seeds and watching them grow when outside it is still dark and cold.  But inside, we are planning for spring planting.  We can start the varieties we want—perhaps a favorite is not available locally as a transplant or as seed; we can raise it ourselves from seed!

Most everyone I know has good luck starting seeds in a sterilized seedling mix.  It may be difficult to find an organic seedling mix; and it must be sterile or seedlings might dampen off from fungi present in the air and abundant in unpasteurized soil mixes.  A mix I make is soil free: 6 parts sterile (pasteurized)peat moss + 3 parts fine perlite + 1 part washed coarse sand.  If you are unsure if your mixture is sterile or not the mix may be heated in an oven at 160 degrees for one hour.  Do not allow the mix to heat above 180 degrees.  A mixture including compost would need to be sterilized by heating to use for seedlings.

Several types of containers might be used to start your seedlings.  In the first picture above, I used a milk carton cut laterally, providing two useful containers.  Shown are pepper seedlings.  Peat pots work well for plants that are difficult to transplant, because they minimize transplant shock and biodegrade into the soil.  Be sure to keep them quite moist once planted, because if the peat pots become too dry, roots will not penetrate the container.  Some plants that benefit from being raised in peat pots and are difficult to transplant are: portulaca, nasturtiums, sunflowers, poppies, eggplant, squash, cucumbers, melons and pumpkins.  Peat pellets also work, but they sometimes are so hard that roots have difficulty growing in them.

Timing is another important factor in raising seedlings.  Your transplants should be big enough to mature and produce in your season, but not too big, or they will not take off well and will take up a lot of room in the house.  Here is a basic seed planting guide, categorized month-by-month, of which seeds to plant at what time for success in northern climates of 100 to 170 days.  (Adjust timings to your local climate):

In January plant impatiens, begonias, geraniums and salvias.  Late January or early February is a good time to start eggplant, peppers, onions, petunias and pansies.  March is probably the best month to start cole crops (brassica family).  April is a good time to start tomatoes and balsam; late April or early May for pumpkins, squash, melons, cucumbers, and nasturtiums.

Florescent grow lights with an adjustable chain are a great help in starting nice seedlings; the lights can be lowered with the chain to keep the newly emerged seedlings in bright light.  This will prevent your plants from getting “leggy”.   Temperatures vary for germination: cole crops about 65 degrees, onions about 70, tomatoes about 75 and eggplant, peppers, squash, melons, cucumbers and nasturtiums about 80 degrees.

Make sure your seedling mix is not too wet.  Some seeds like to germinate on the dry side, such as tomatoes and peppers.  I cover my newly-planted seeds with plastic wrap, but check them twice daily for moisture and rotate them if necessary.  Once the seeds are just up, I loosen the wrap (a little more each day) to harden the babies off to the air.  Grow your plants on in cooler conditions than you germinated them and they will grow stockier.  A cold frame is just about the best place you can put them if it is not too cold outside.  In a south-facing cold frame the soil will remain warm at night, and daytime venting will give the plants fresh air.  Keep shade cloth handy if it tends to get too hot during the day in your area.  This is a common occurrence in dry, sunny climates with warm days and frosty nights.  The second picture above shows newly transplanted seedlings in a cold frame vented for the day.  A cold frame will harden-off your plants before planting out.  Don’t forget to place open-ended containers around plants as you place them in the garden to deter cutworms.  Good luck!

Growing Asparagus

Standard

photo (119)

Asparagus (Asparagus officionalis) is a popular vegetable today and was quite popular in the nineteenth century.  The photograph above is of an antique variety, ‘Giant Asparagus’ an engraving from The Illustrated London News, dated 1851.  An asparagus knife is shown alongside the plant.  This year, I grew another old variety of asparagus from seed, ‘Connover’s Collosal’, dating to the second half of the nineteenth century.   It is difficult to find plants of heirloom varieties of asparagus, so one has to start them from seed.  However, the process is slow, as the plants take three to four years to reach the size for harvesting.  (If too many shoots are cut from very young plants, productivity may be reduced, or the plants may die.  But if the plants are allowed to become established, an asparagus bed will last twenty years or more, even up to fifty years!)

Late March into early April is an excellent time to start asparagus from seed.  Use a sterile medium, cover the seed about 1/4 inch deep and place the pots in a warm location (77 degrees is optimum).  The seeds should come up in about ten days.  You may direct seed into a bed if soil temperatures are above 50 degrees, it will just take a little longer for the seeds to germinate.  Asparagus plants begin to grow slowly and will not be ready to transplant out for about three or four months.  Meanwhile you can prepare a bed for them.  An ideal spot is in full sun with a bed large enough to accommodate the number of plants you need.  It is usually recommended to plant five to six plants per person.  Since the plants are perennial (USDA climate zones 4-9) they benefit from a well-prepared bed.  Peter Henderson, in his book Gardening for Profit published in 1867, recommended planting transplants nine inches apart in rows three feet wide for commercial growers, or two feet wide for home gardeners.

Once you have established how many plants you need, you can make the planting bed.  Henderson recommended trenching the bed two to three feet deep with about three inches of rotted manure mixed into the soil.  A deep sandy loam is best for them as they are native to alluvial soils.  Bernard Mc Mahon, in Mc Mahon’s American Gardener, published in 1857, recommended double digging two spades deep and placing several inches of rotted manure in the trench, then spreading another layer of rotted manure over the surface.  He directed gardeners to mix this second layer of manure with the soil to a depth of eight to ten inches.  My young plants, now a year old, have spears a little larger in diameter than a toothpick.  The young plants may be grown in a temporary (sunny) rich bed for another year, then moved to their permanent location.  Place the crowns of the plants two inches below the soil surface.  Keep the beds weeded to ensure quick, even growth.  Mc Mahon recommends three years from planting (which would be four years from sowing seed) before cutting can begin.  Dress the bed every spring with rotted manure, bone meal and wood ashes.

If your family really enjoys asparagus, plant more than five plants per person; I plant twelve per person.  If you plant two-year transplants, spread the roots out like the spokes of a wheel and cover with about one inch of prepared soil.  Water well.  As the plants grow, cover them with more soil until you have them two inches under.  Do not use fresh manure as it will burn them and (heaven forbid) do not use chemical fertilizers, especially on newly planted asparagus.  Wait two years to begin cutting.  A summer mulch of three inches of straw is excellent, will protect the plants in winter and the spears will come up earlier in the spring if the ground is not frozen too deeply.

When you cut asparagus spears get them into the refrigerator right away or cook them immediately because they lose flavor as quickly as sweet corn does.   Considering how expensive asparagus is, I find the start up work well worth while.  Enjoy!