GROWING HEIRLOOM TOMATOES

Standard

FullSizeRender (11) FullSizeRender (6)


Tomatoes are native to the Andes Mountain region, a region of varied climates.  The kind of tomatoes most frequently grown in our gardens are botanically classified as Lycopersicon esculentum.   Tomatoes are easy to grow in Western Montana if given the right conditions in the garden.  The site should be sunny and protected from wind, but with some airflow.  If grown in too close or crowded conditions tomatoes can succumb to disease.  Fortunately, in our area, the air is usually pretty dry, meaning humidity is usually low (when the sun is out).  Good soil is important.  I amend my existing soil with manure, bone meal or rock phosphate, alfalfa meal or wood ashes and greensand.  A good, dark compost will enrich your soil, feed the tomatoes and retain moisture.  If you prepare your soil well, as organic gardeners do, you will not have to feed them at all the rest of the season.  Tomatoes prefer even moisture; if given too little water they will produce fewer and smaller fruit.  If given too much water all at once, especially when the soil has dried out, the fruit often crack and split.  An even, slow watering is best, so the moisture goes deep into the soil.  Leaf roll, blossom-end rot and cracked fruit can be prevented by careful, even watering—aim for moist soil always, not wet or dry.

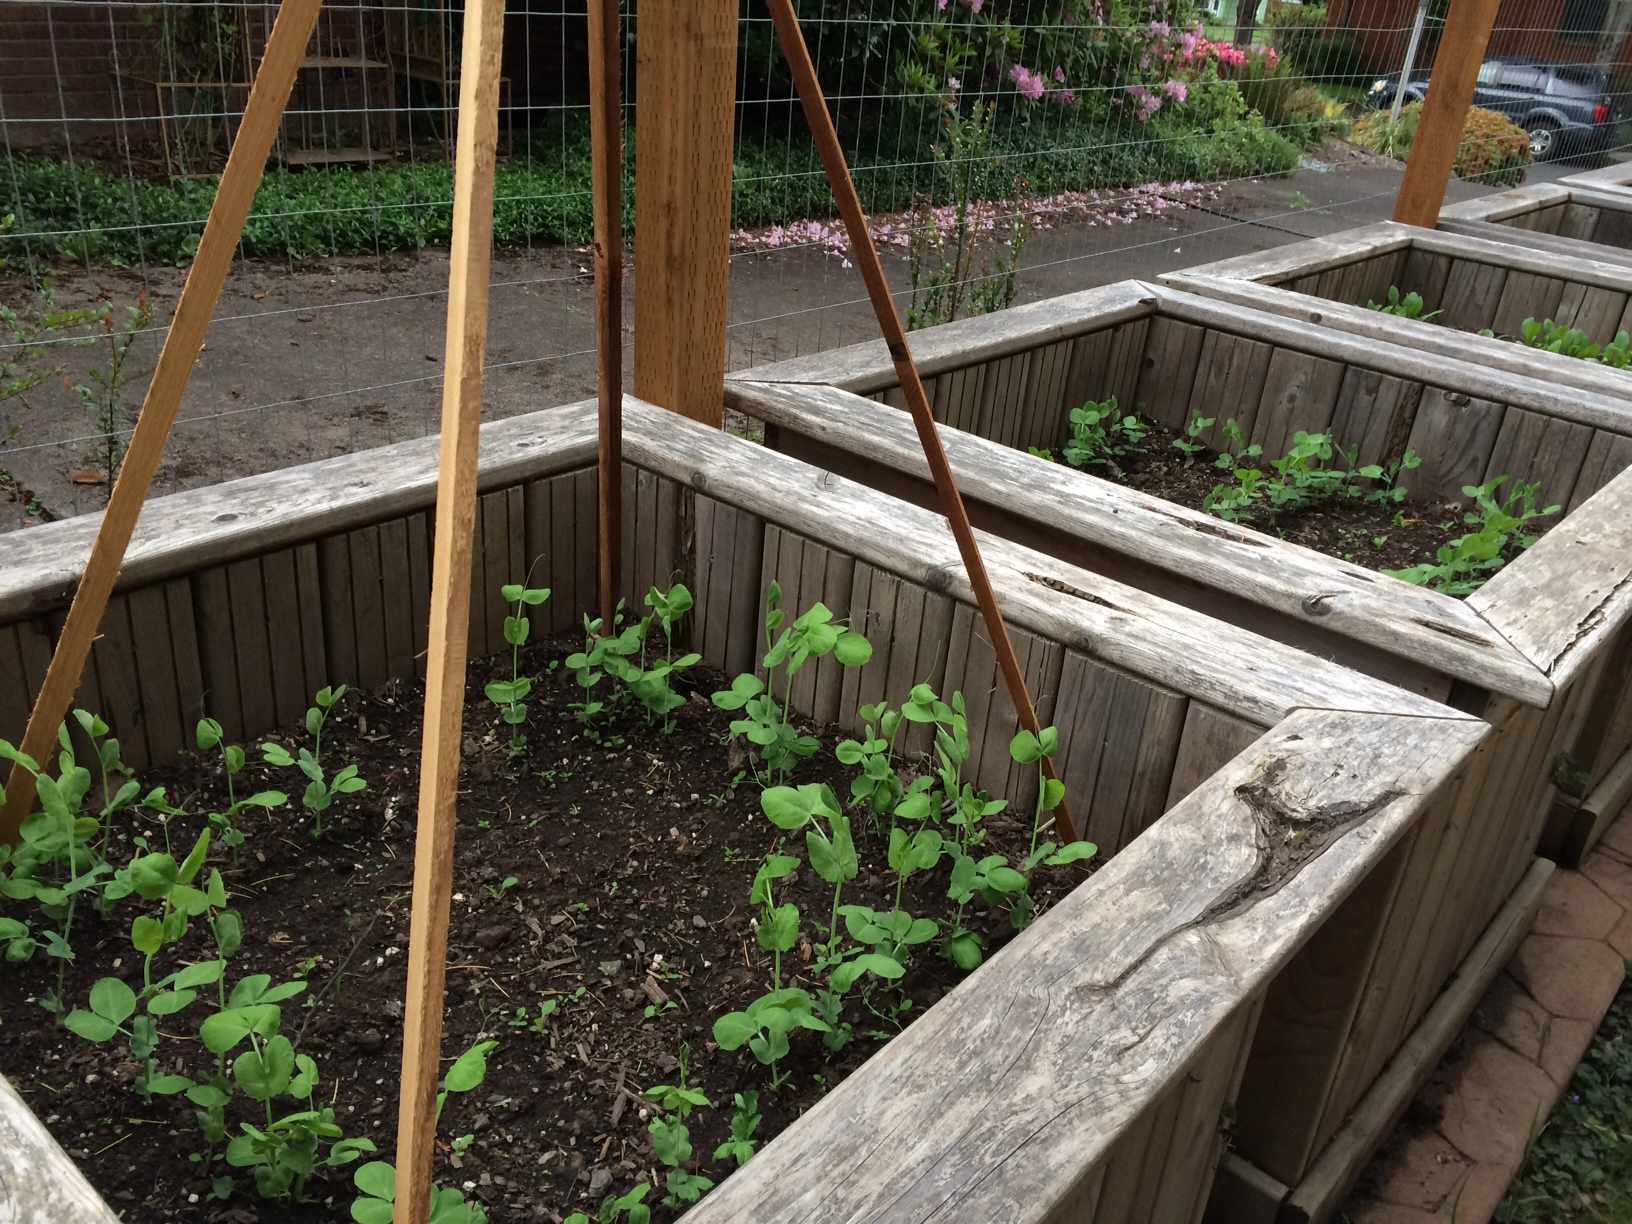
Tomatoes are naturally a vining plant, though they have been selected over the centuries to be shorter and bushier.  This is especially true of more recent seed strains.  Many of the oldest heirloom tomatoes are tall plants that require support in the form of a tomato cage or wooden frame, or a trellis.  One example of a tall heirloom tomato is ‘Purple Cherokee’, which grows over six feet tall!  It is important to keep the fruit of the ground and leave space around your plants.  This will help prevent disease.  It is best to water tomatoes in the morning and avoid wetting foliage in the evening.  This will reduce or prevent late blight (spots on leaves and fruit).  Other diseases include: powdery mildew, verticillium wilt, and fusarium wilt.   If you suspect disease, your county extension agent or other specialist can help you diagnose these problems and recommend remedies.  This is important in our region, to protect our potato industry.  Potatoes are related to tomatoes and subject to many of the same diseases.  Sulfur and copper fungicides are two available OMRI listed, certified organic disease controls.

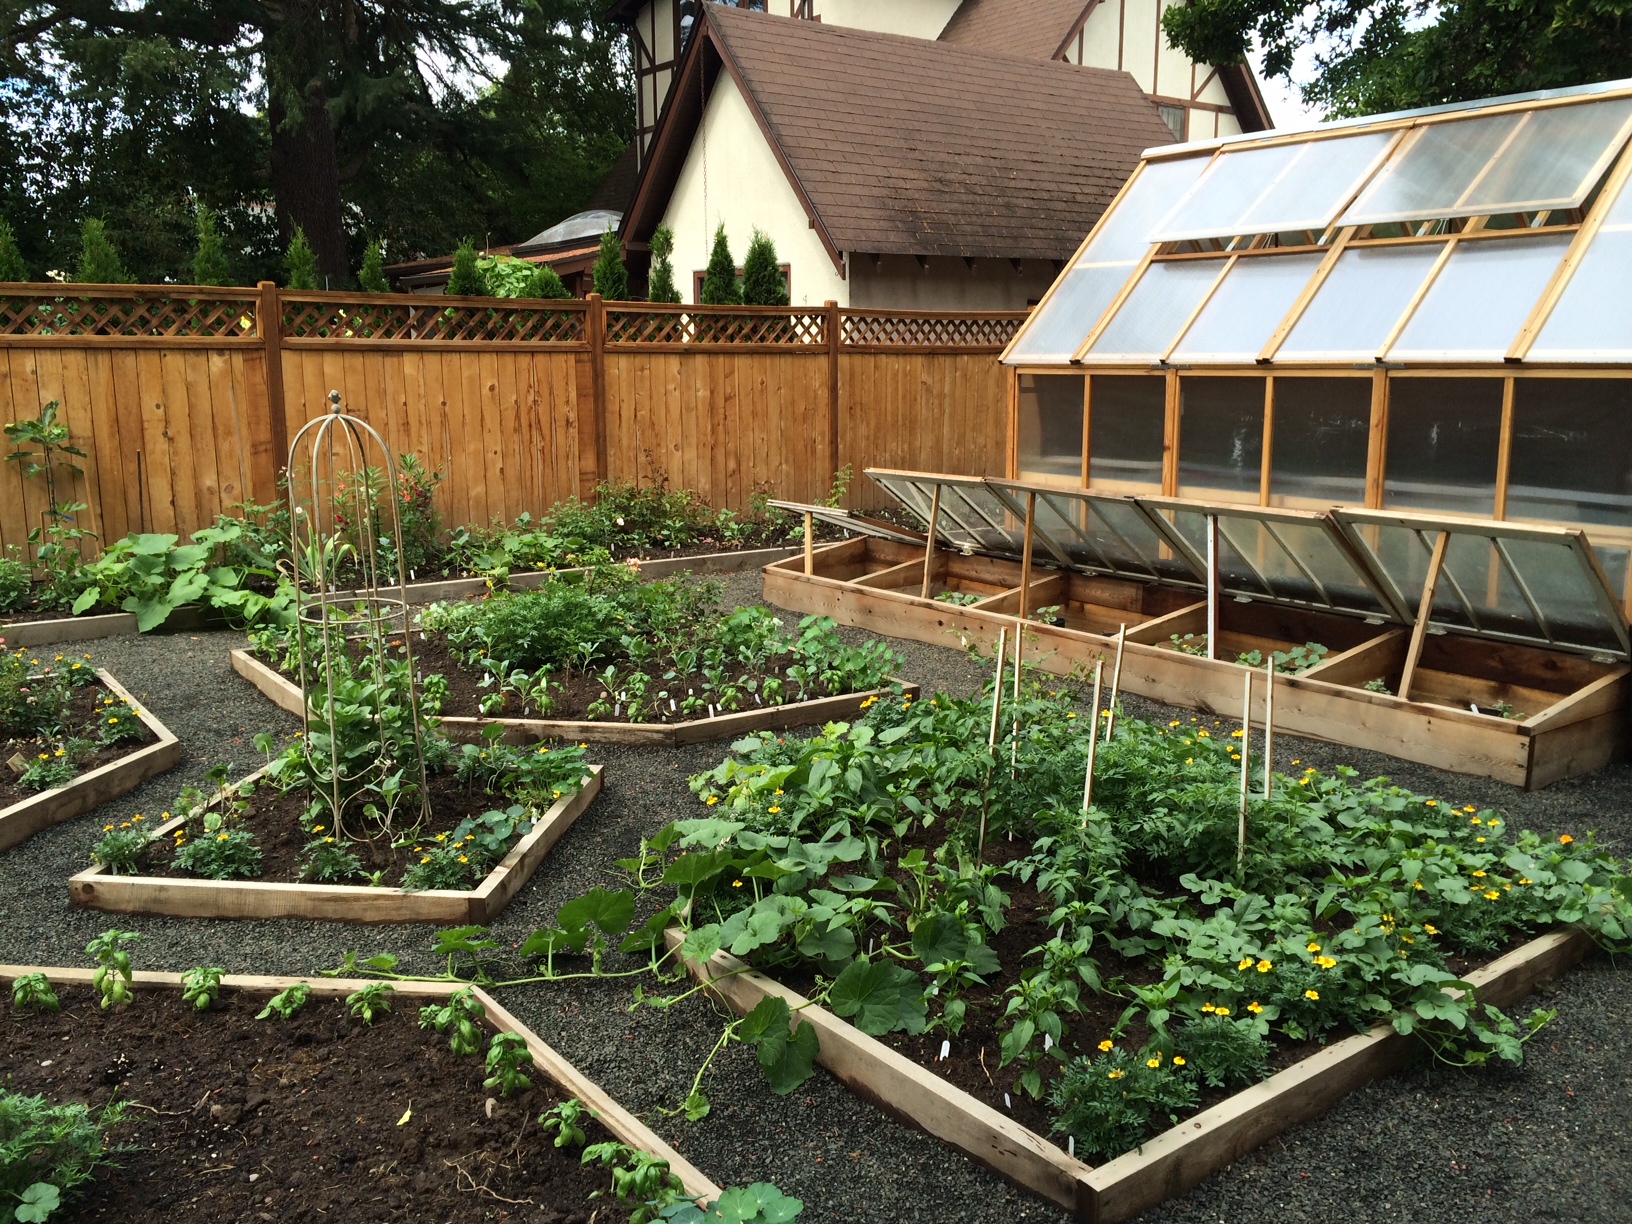
Deer are a primary pest in our gardens; gophers and voles are quite damaging, too.  A tall (seven foot) fence helps prevent deer, and hardware cloth under a raised bed is a good way to prevent gophers and voles.

One more issue to watch is proper pollination of your tomatoes.  Fruit will not set well if daily high temperatures do not reach 55 degrees; conversely, fruit will not set if temperatures are over 100 degrees.  Historically, we have had troubles setting fruit with our cold days and nights, but nowadays with warming temperatures, the daily high temperatures might become an issue.

Here is a list of some wonderful open-pollinated heirloom tomatoes that do not have too late a season for Western Montana:

‘Glacier’ (55 days) is a dwarf, bushy variety with potato-like leaves.  The fruit are 2” to 3” and red to orange.  ‘Glacier’ produces well in cool climates and has excellent flavor for an early tomato.  No pruning or staking is needed for this variety.

‘Bison’ (65 days) was developed in North Dakota in 1937.  It is another dwarf variety that sets 3” deep red tomatoes even in cool weather.  ‘Bison’ can produce as much as 40 pounds of tomatoes from one plant.  This variety requires no staking or pruning.

‘Persimmon’ is an orange, persimmon-colored tomato that originated in Massachusetts in the mid-1800s.  It is rare today and reasonably early, (75 to 80 days).  The flavor is very good, low-acid; the fruit reaches about one pound.  This is a great tomato for salsa!

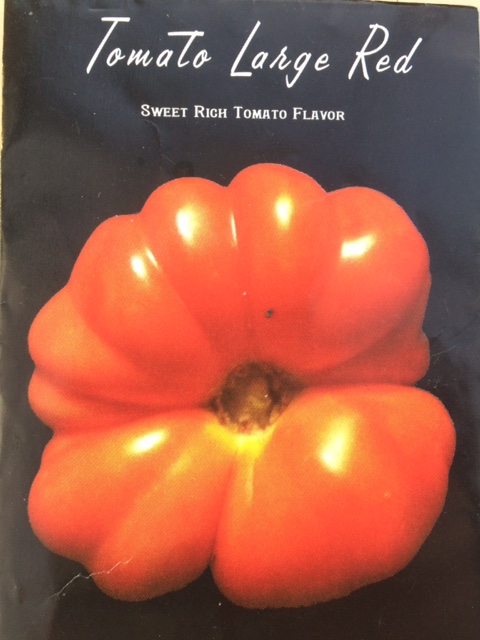
‘Large Red’ (80 days) is one of the oldest and rarest tomatoes.  It originated in Massachusetts, in the 1820s, and was grown by the Shakers.  Pioneers brought is west on the Oregon Trail.  It is a tall plant with convoluted red fruit resembling the pumpkin that became Cinderella’s coach.  12 oz. fruit is common, as it is a beefsteak-type.  ‘Large Red’ has a sweet and rich flavor.

‘White Shah’ (80 days) is an heirloom from the 1880s; a very mild, flavorful, white tomato.  The fruit are quite large, 8-12 ounces, and the plants have potato-like leaves.  ‘White Shah’ was the healthiest tomato I grew last year, and one of the best for flavor.

‘Pink Brandywine’ (80 days) is another tall plant, potato-leaved, with delicious, pink fruit.  It is the most popular heirloom for flavor, though the plants are more disease-prone than most tomatoes.  Good culture should prevent or minimize these problems.  ‘Pink Brandywine’ is one of the best for tomato sauce.

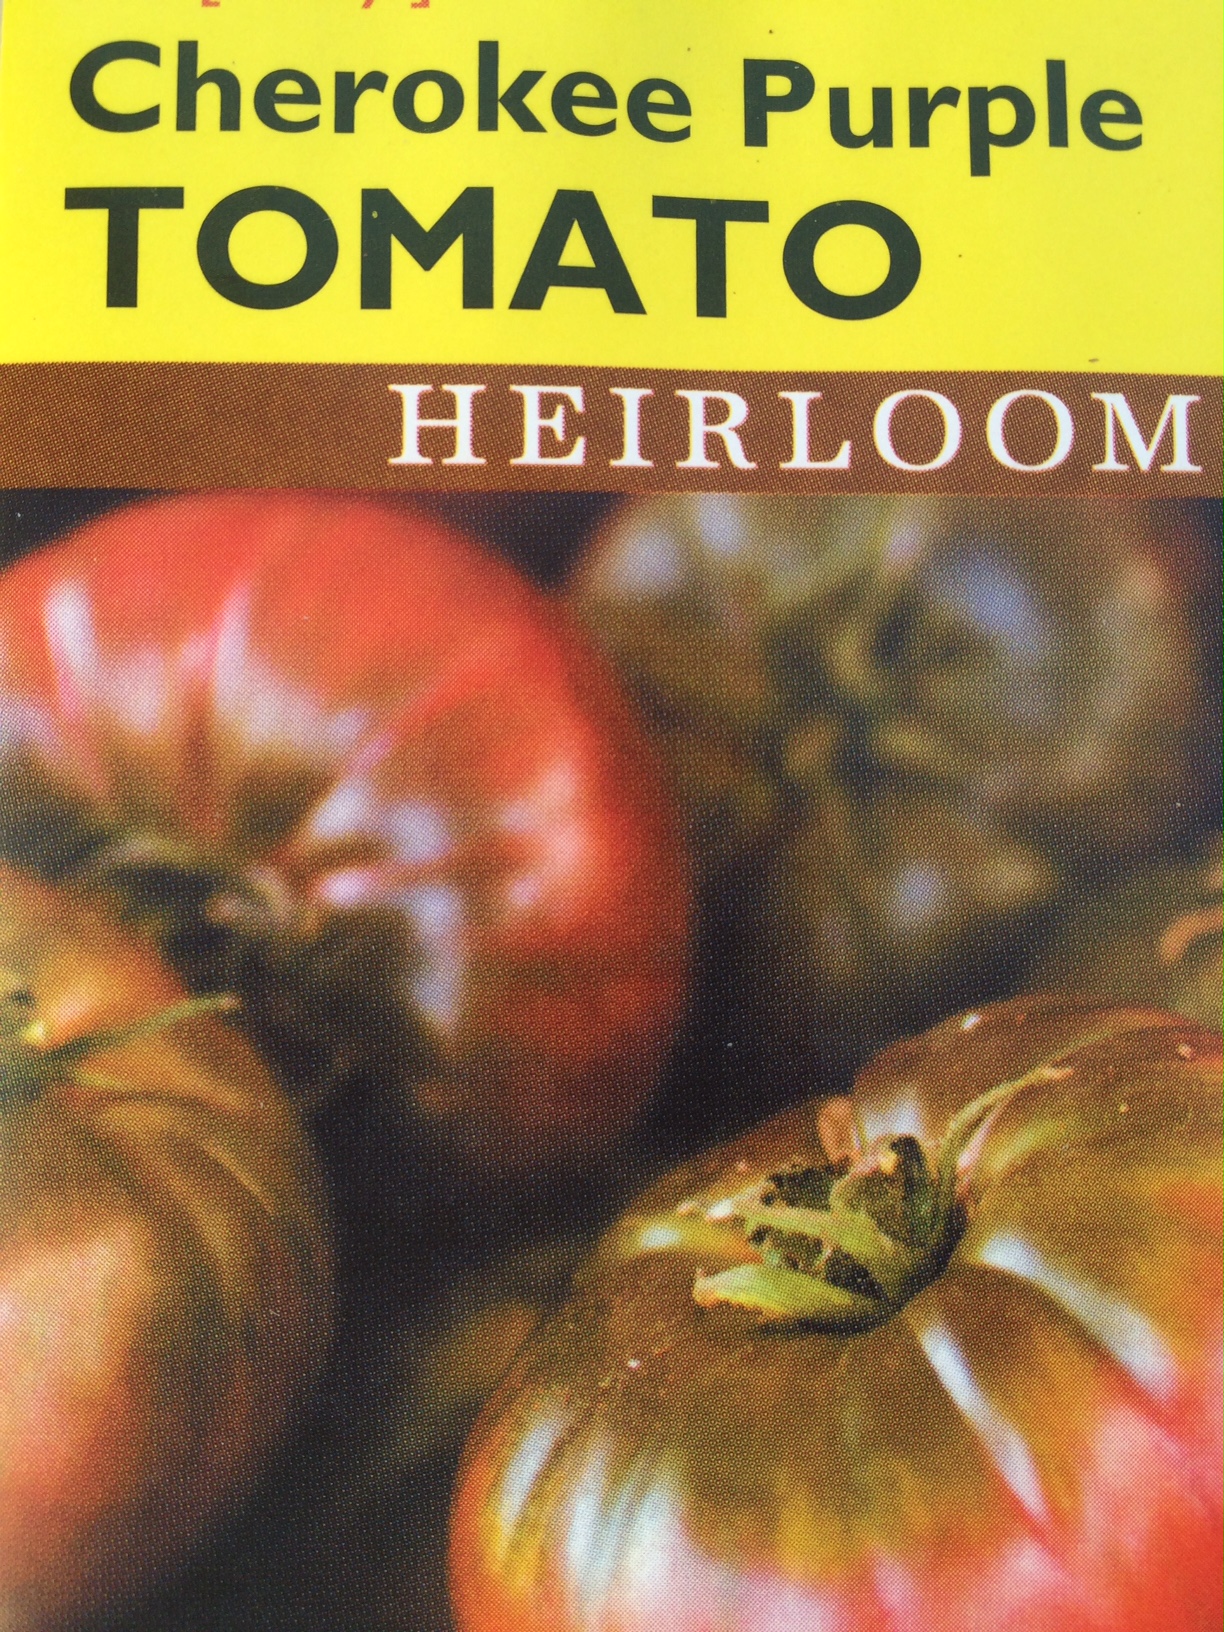
‘Cherokee Purple’ (80 days) originated with the Cherokee people and was brought west to Oklahoma on the Trail of Tears.  The plant is very tall—six to seven feet!  Staking and/or caging is necessary.  The fruit are large, flavor is among the very best, and fruit sets fairly early.  Prepare your soil well, as this variety is not usually as productive as some.


Designing A Garden For Heirloom Plants

Standard

photo (92) photo (93) photo (94) photo (95) photo (96) photo (97) photo (98) photo (99)

Winter is an excellent time for gardeners to plan garden designs as there is minimal activity outside this time of year, epecially in northern climates.  As soon as soil can be worked you can begin executing your project.  In southern and low desert climates it is also a good time to plan your garden and build it because the cool temperatures make it easier to do heavy physical labor.

This last year I designed and built a garden in Early American style to hold my collection of antique roses, fruits, flowers and vegetables.  I had several goals: create a design based on historic models; maximize use of space and efficiency; minimize maintenance labor; use local materials, protect plants from predation and create the best growing conditions possible.  The first picture above depicts an American garden design plan from the late eighteenth century.  The original drawing is archived at the Essex Institute in Salem, MA.  My photo is taken from British and American Gardens of the Eighteenth Century, edited by Robert P. Maccubin and Peter Martin; The Colonial Williamsburg Press, 1984.  This style of design and use of space has its roots in Medieval gardens of Europe.  The plan is formal; beds are edged by timbers, are often raised or slightly raised and mud-free (and/or weed-free) paths separate beds.  This formal style is quite convenient to tend: crops can be separated and rotated; soil pH, texture and drainage can be adjusted from bed to bed, and some beds can be high water-use, while others may be medium or low water-use.  I find it convenient to place high water-use beds nearest the house and low water-use beds farthest away.

The second photo above is of my garden design for my garden in Corvallis, Oregon.  I measured the entire site, then made the drawing to scale on graph paper.  I used cut-out pieces of colored paper for structures such as the greenhouse, cold frames and porches.  I made labeled pieces of graph paper to indicate trees and shrubs.  The cut-out pieces can be moved around over the drawing until you determine where you want everything to go.  Shade is an issue in this garden, so sun-loving and shade tolerant plants were placed accordingly.

When the design was finished, trees and shrubs that cast heavy shade were removed or moved to new location; materials and workmen were sourced.  Tree and shrub roots were ground and removed.  Soil leveling was undertaken, then fences were built.  We tilled the soil, as seen in the third photo above, then raked the grass and roots into piles approximating the location of beds.  We had such a hot summer that the grass roots quickly died.  They provided immediate organic material for the soil.

We measured and drew out my design with spray paint and began to build our boxed beds.  I used 2′ x 12′ cedar lumber anchored in place with metal spikes set in concrete.  The fourth photo shows bed construction in the back yard garden.  Trenches 6 inches deep were dug to lay the timbers into.  Now we had beds raised six inches above the original soil level and 4 inches above planned level of the gravel.  This enabled us to use the native soil and amend it with 4 to 5 inches of compost, manure, greensand, wood ashes, alfalfa meal and bone meal (See the fifth photo above of the front garden).

After soil preparation, planting could begin.  The sixth photo above is a shot of the back garden two weeks after planting.  Vegetables grew quickly in the wonderful, organically amended soil.  The front garden was finished and planted a few weeks later (the seventh photo above).  The front beds were planned for bulbs, perennials and shrubs that use little or no additional water in our climate.  I do have to water the rose bed bordering the fence; watering deeply but infrequently once the roses are established.

The last photo shows one of the large 3′ x 3′ wooden tubs newly planted with ‘Blue-Podded Blauwschokker’ peas, which date to the sixteenth century.

The entire construction project took six months, from design to planting.  For a labor force we had two people working part time and one person working full time.  The garden is planted with heirloom plants dating from the ancient Greco-Roman period through the Oregon Trail Era (1830-1869).  Also included are a few more recent varieties, dating before and up to 1925, when the house was built.


IMPROVING YOUR SOIL

Standard

photo (91)

The quality of your garden soil is an important consideration in growing heirloom fruits, vegetables and flowers as soils come in a wide variety of textures and materials.  Soil texture describes the size of the mineral particles in your soil.  Soil particles in order of size, from smallest to largest, are: clay, silt, fine sand, medium sand and coarse sand.  The ideal garden soil (for most plants) is a loam soil, which carries particles of clay, silt and sand, plus organic matter.

Soil structure refers to the way soil particles bind together to form clumps.  In soils with good structure the spaces between particles are large enough to ensure good drainage but do not dry too quickly.  The best garden soil, loam soil, drains fast enough for root health but retains enough moisture for continued satisfactory growth.  Adding amendments to soils will improve its structure and provide food for beneficial microbes.

Another consideration to address before you add amendments to the soil is to test the pH— the measure of acidity to alkalinity in your native soil.  A pH of 7 is considered neutral and many plants are adapted to this condition.  A pH above 7 is considered alkaline while a pH below 7 is considered acid.  A pH test can serve as a guide to which plants you might be able to grow with ease and others that might be more difficult.  It is easier to make soils more alkaline, but difficult to acidify them.  Even though you may add sulfur or aluminum to your soil to acidify it, the subsoils beneath will remain alkaline and eventually the alkalinity will return, especially if your water is alkaline.  This makes it difficult to grow plants such as camellias, rhododendrons and azaleas (which prefer acid soil) in regions with alkaline soil and water.  Adding lime or crushed shells to acid soils will increase soil alkalinity.

One consideration in growing heirloom plants is to research soil amendment ingredients and practices used in the 19th century, as most of the plants still in existence from that era and before were selected under those soil conditions.  I am an organic gardener using these time-tested methods and believe that building your soil is crucial to long term success.  By amending your soil with such things as greensand, sulfur, bone meal, kelp meal and manure, you will enrich it and create a productive environment for soil bacteria.  You can choose from composted cow, hog or horse manure, alfalfa meal, cottonseed meal and guano or chicken manure to add significant nitrogen to your garden soil.  These all contain small levels of potassium and potash.  Bone meal, hoof and horn meal are excellent sources of potassium.  Kelp meal, wood ashes and greensand are significant sources of potash.  Greensand also contains many trace minerals.  Keep in mind that bone meal is somewhat alkaline and wood ashes are quite alkaline.  Home made compost is always valuable and usually contains a fair amount of nitrogen with smaller mount of potassium, potash and trace minerals.  Another option to improve soil is to plant cover crops and till them under.  Clover, rye, lentils, field peas, vetch and buckwheat are some examples.

This is the time of year to plan for improving your soil.  As soon as the ground thaws you can test the pH and as soon as soil becomes workable (not too wet to dig) you can add amendments.  It is important to learn as much as you can about what type of soil each plant you plan to grow prefers, for long term success.  For example, brassicas (cole crops like cabbage) have fewer pest problems and greater production in slightly alkaline soils.