LOWER YOUR PERSONAL CARBON FOOTPRINT

Standard

img_5619.jpg

LOWER YOUR PERSONAL CARBON FOOTPRINT

Every day we see news reports or read about the devastating effects of climate change and frightening predictions of damage to our planet’s ecosystem.  Most scientists agree that the earth’s climate is warming due to massive carbon dioxide emissions.  Many of us feel powerless to affect changes, but each one of us, as individuals, can make choices to limit carbon dioxide emissions.  We can do this by our own, in our day to day lives.  I have put together a list of 10 things each of us can do to help limit increases in CO2 emissions and even help to capture emissions out of the atmosphere.

  1. Reduce your air travel. Airplanes produce a huge amount of carbon. Take the train, or a bus, or travel with others in an automobile.  One air flight from Los Angeles to New York adds about 25% to the yearly total of the average person’s carbon emission footprint.
  2. Purchase meat produced locally from animals that have been grass-fed on pastures. Try to determine that the land has not been overgrazed. Healthy, well-managed grasslands actually capture a huge amount of carbon dioxide through the growth of grasses, which pull CO2 out of the atmosphere and store it in their leaves, stalks and roots.   Locally purchased meat means it was not shipped over long distances using fossil fuels, so the total carbon emissions are much lower. 
  3. Inspect your home heating system and your home’s insulation. Replace old heating units with new, energy-efficient models. Block drafts, install storm windows or double-pane windows, and add more insulation if needed, especially in attics and floors.   Insulating curtains are helpful in winter to conserve heat. 
  4. Replace any older, inefficient appliances and maintain those you have. Replace older incandescent light bulbs with new LEDs (light-emitting-diodes). Consider adding solar or wind-powered technologies to assist or even replace your power source. 
  5. Maintain your automobile and farm equipment so that all machines run efficiently (thereby using less fuel). Make fewer, more efficient trips in your vehicle and try to car pool with others to save fuel. Having just one more person with you in the vehicle reduces your carbon footprint by half on that road trip.
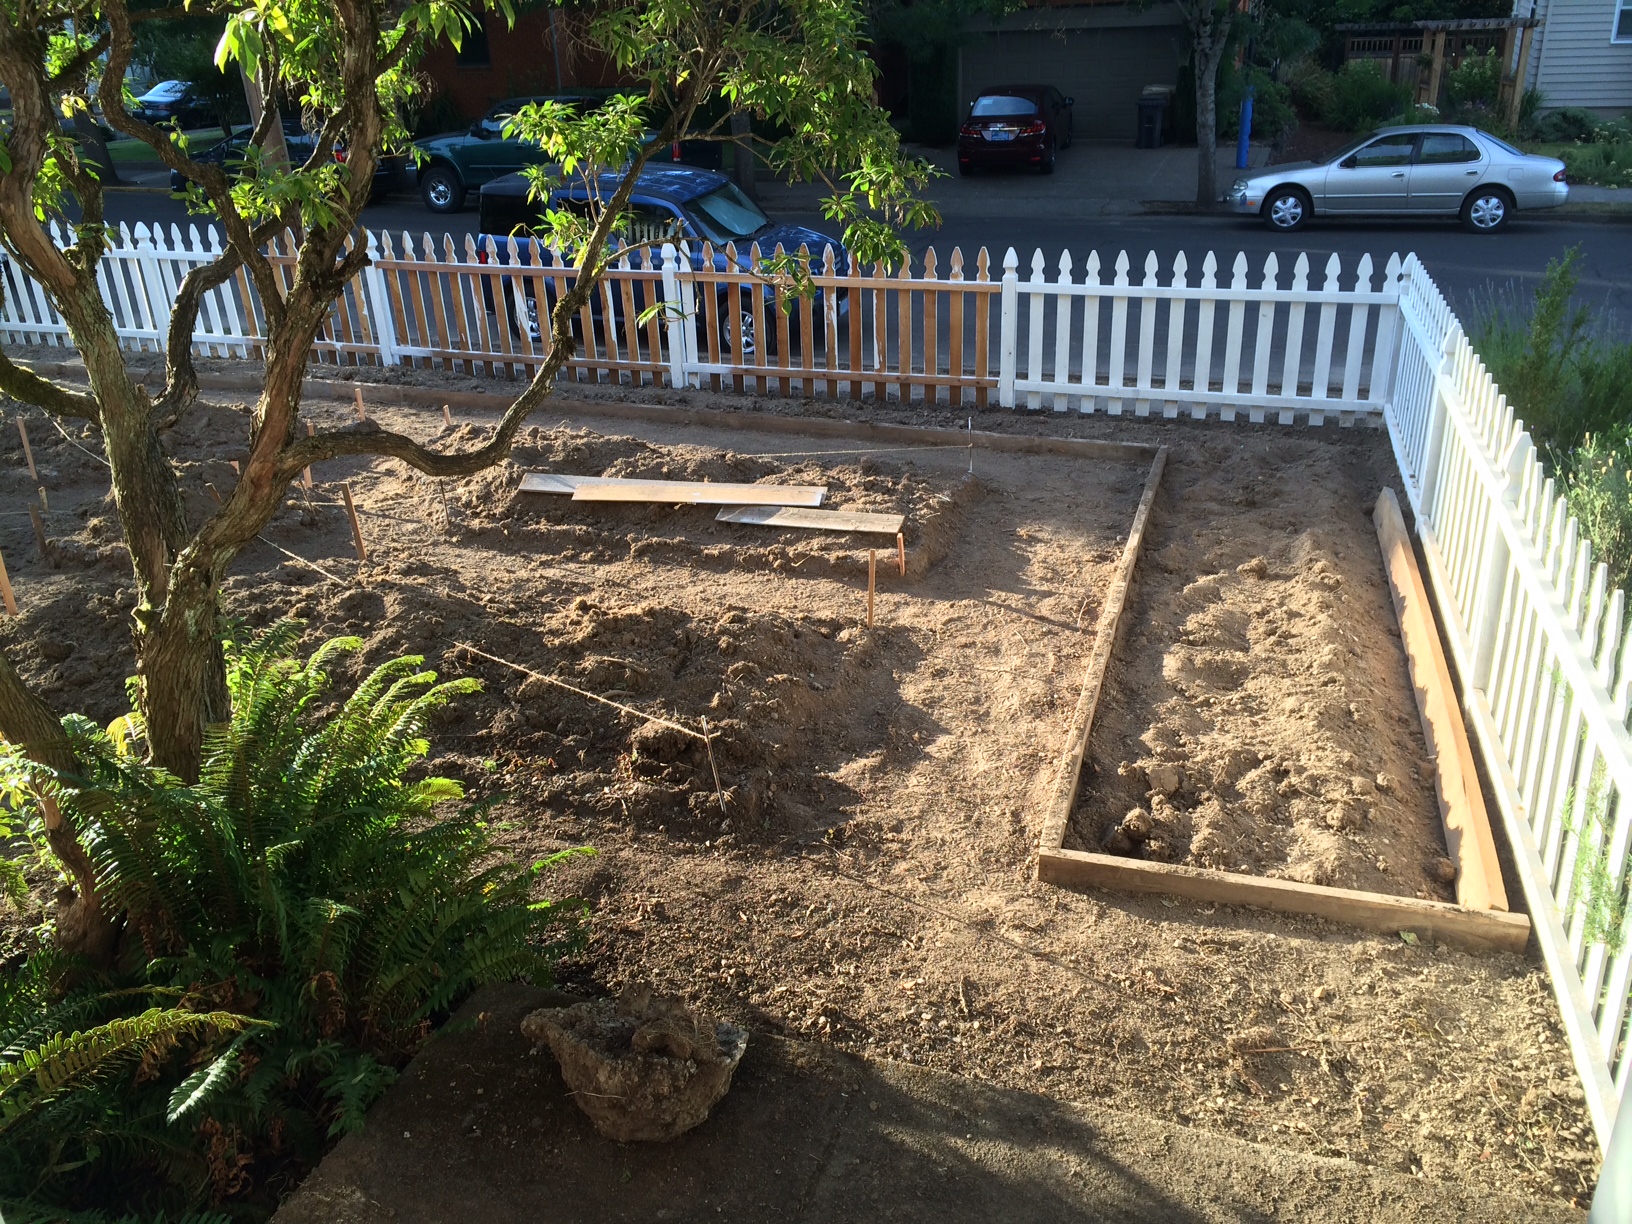
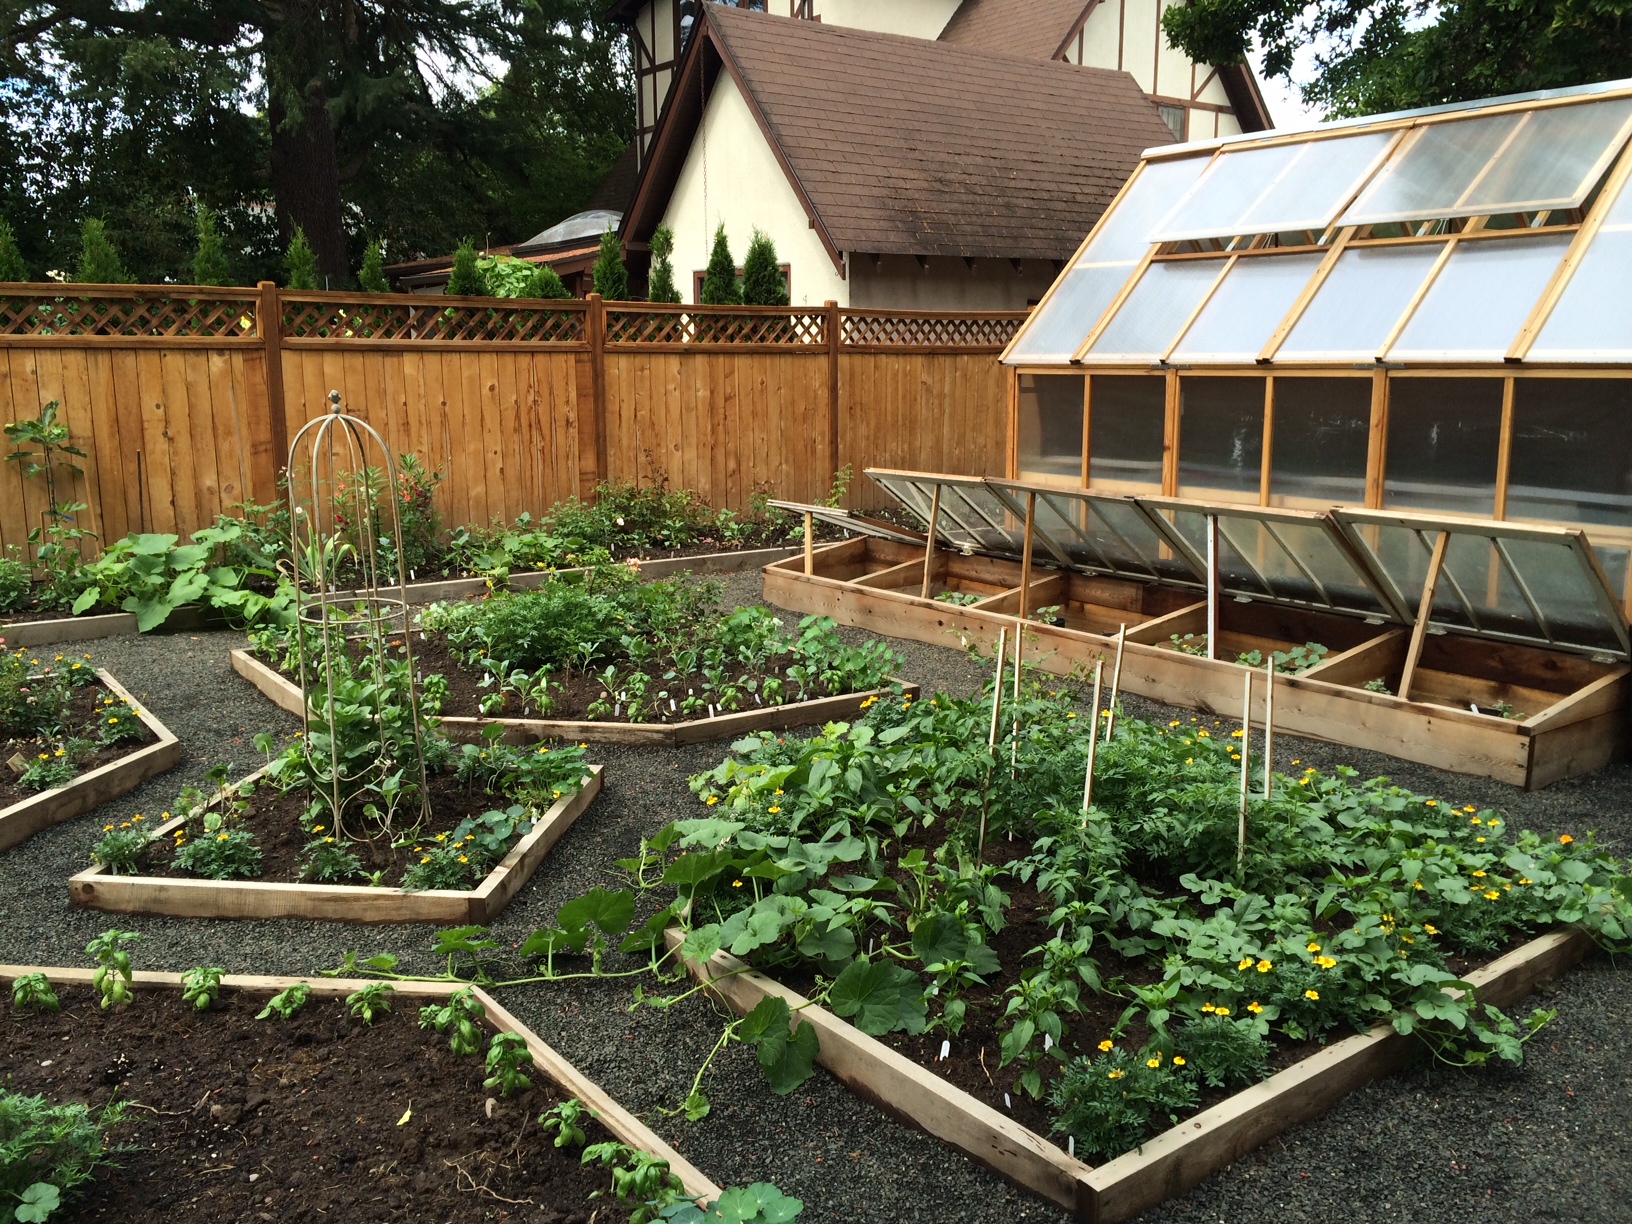
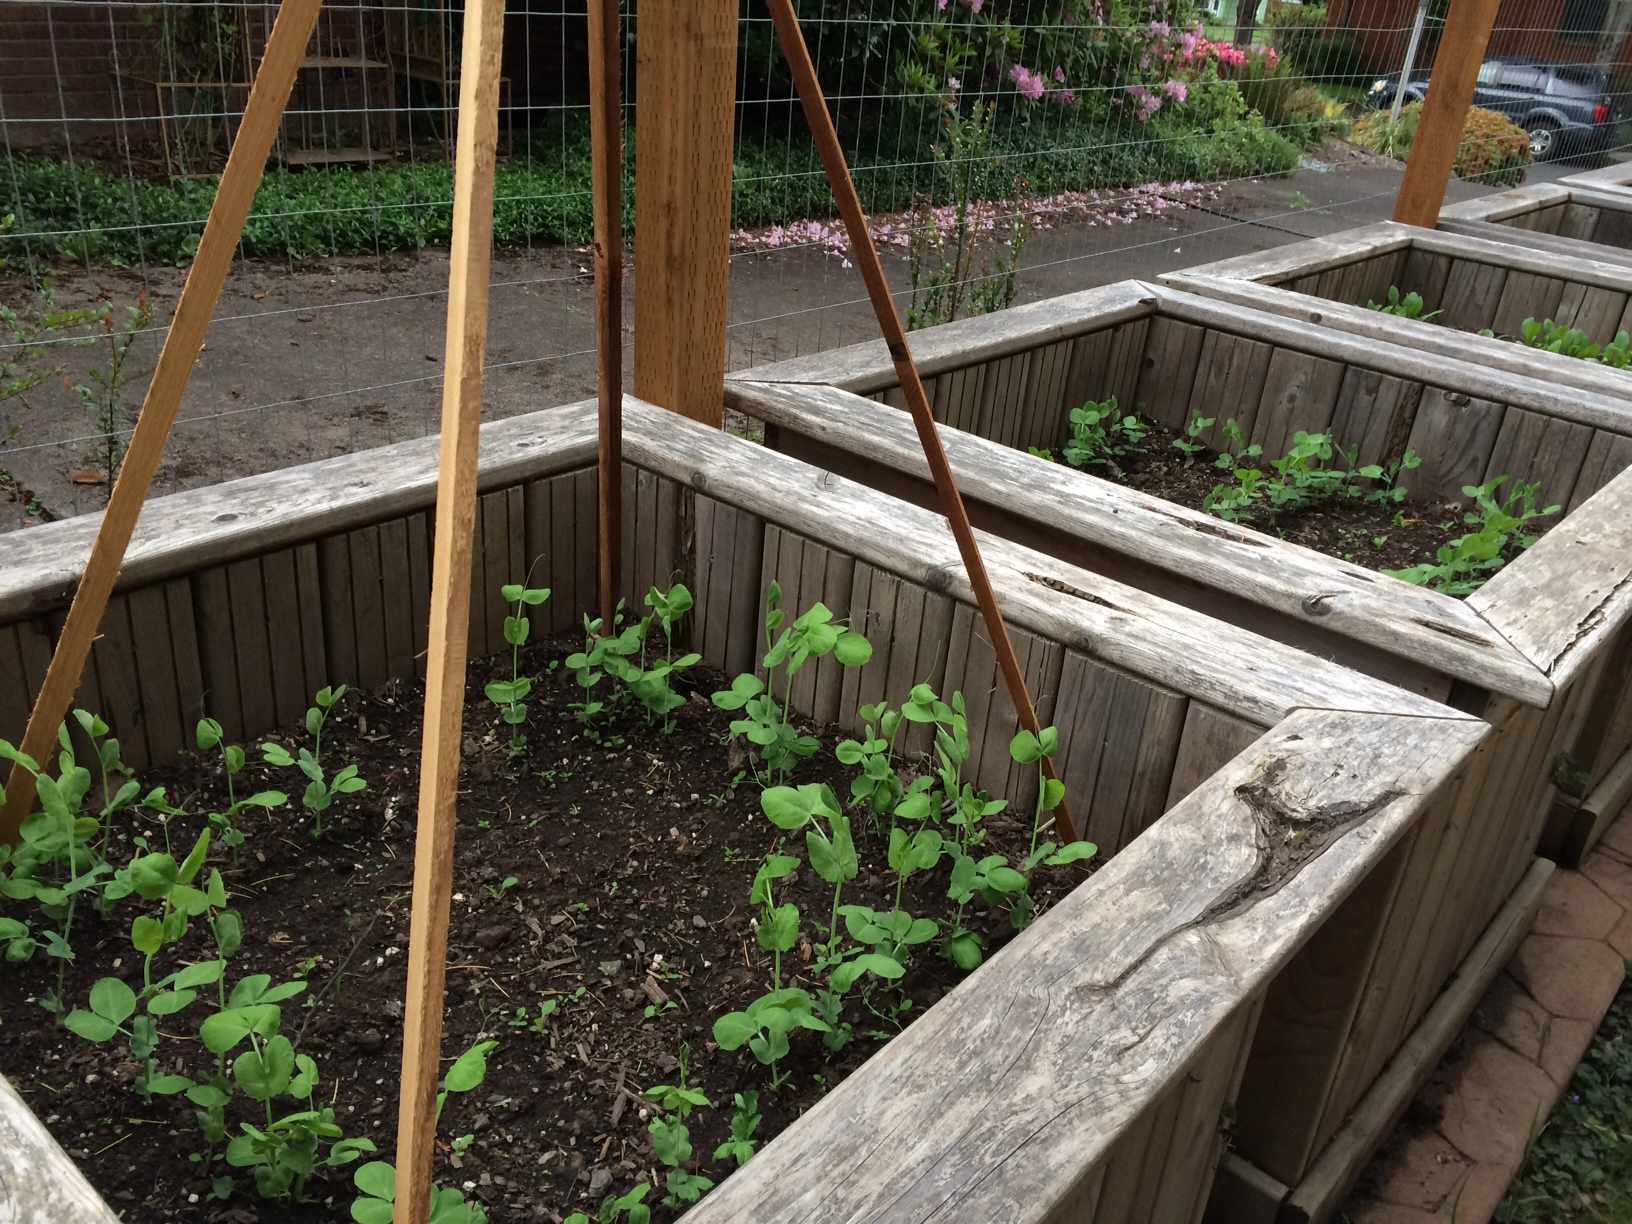
  6. Use principles of conservation farming on your farm and in your garden. These techniques actually capture CO2 out of the atmosphere!   Forests, hedgerows and grasslands are huge carbon sinks, because growing plants pull carbon from the air and store the excess in their stems, leaves and roots.  Protect the carbon-holding ability of your soil by reducing tilling or not tilling at all.  Rotate crops every year, use organic fertilizers, such as composts and manures, taking care to not over-apply nitrogenous fertilizers that may be washed into water systems.  Do not leave soil to fallow (this causes degradation of soil animals which help plants capture carbon).  Use cover crops as these build soil and capture carbon.  Do not overwater as this smothers soil animals and washes CO2 out of your soil.  Do not overgraze pastures as this reduces carbon capture significantly. 
  7. Consume less by buying fewer, but better products that last longer. Making any one new product uses a lot of carbon. Avoid heavily packages foods and one-use (disposable) products.  Try to purchase products in biodegradable plastic containers and recycle whenever possible. 
  8. Buy locally-produced food. Much carbon is wasted shipping food thousands of miles from where it was grown. Avoid items that have been flown in by air as they have an enormous carbon footprint.  If you garden, try preserving your own food by canning, pickling and drying.   Dried foods are the most efficient and use the least carbon, especially if a solar food dryer is used.  Vegetables and fruit can be stored and kept in a root cellar with a passive ventilation system, which uses no power.
  9. As much as you possibly can, buy any and all products from companies that support committing to a low-carbon future. Because our businesses in our economy are so sensitive to demand, carefully choosing low-carbon footprint products may affect change more quickly than anything else.  
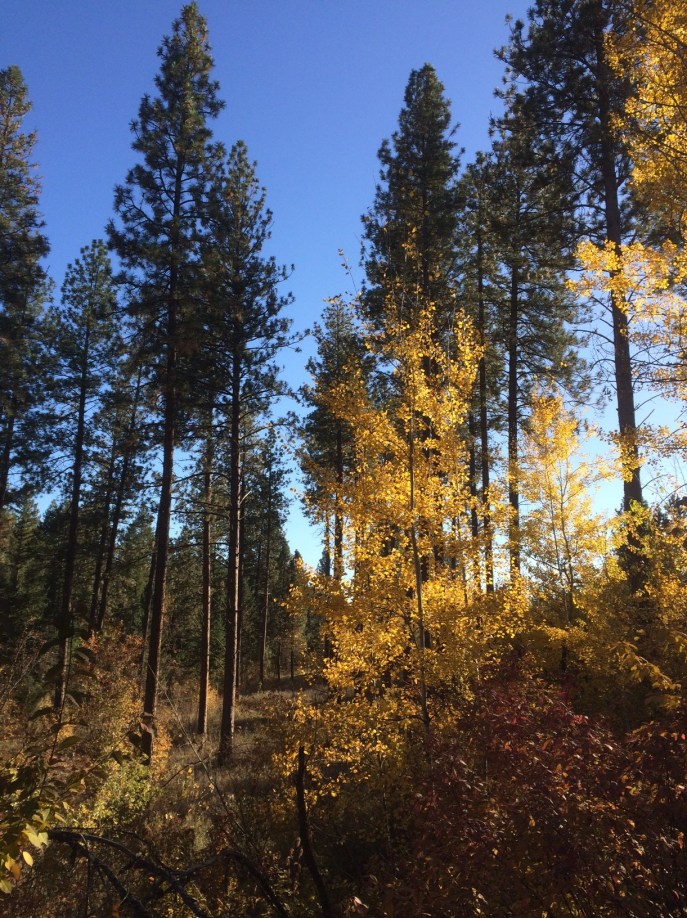
  10. Consider turning part of your lawn into a wildflower garden (make sure this uncut area is at least 12 feet away from the house for fire safety). This will gather more carbon than a regular, trimmed and cut lawn and will promote the growth and presence of native insect pollinators, and reptiles and birds. Plant hedgerows, trees and shelterbelts on your property using well-adapted and native species.  Hedgerows and forests gather the most carbon of any ecosystem on our planet.  Using organic gardening methods will protect and nurture your soil.  It has been estimated that if the entire world switched to organic farming and gardening practices, enough CO2 in the atmosphere would be collected to lower CO2 to preindustrial levels in only three years!

BIBLIOGRAPHY:

Ingram, Dr. Julie, Best Practices for Soil Organic Carbon Management in Agricultural Systems, Countryside & Community Research Institute, UK , 2017

Goode, Cecile M., et. al. Understanding the Impacts of Soil, Climate & Farming Practices on Soil Organic Carbon Sequestration, Australia, 2016

Muchmuller, Megan B., et. al., Emerging Land Use Practices Rapidly Increase Soil Organic Matter, USA, 2015

Zhang, Limimg, et. al, “Toward Optimal Soil Organic Sequestration With Effects of Agriculture Management Practices & Climate Change in Tai-Lake Paddy Soils of China,” In Geoderma, 2016

Smallwood, Mark, Regenerative Organic Agriculture & Climate Change, Rodale Institute, 2013

Standard

AURICULA PRIMROSES

When we think of primroses, the first thing that comes to mind are the ‘Pacific Giant’ hybrid primroses we see in garden centers.  Actually hundreds of species of Primula are in existence, and some species have been brought into gardens and significantly developed.  The auricula primroses, members of the species P. auricula, have been grown in gardens since the 1500s.  They have evergreen leaves that curl around in a way that resembles the ear of a bear.  When first cultivated, they were called ‘Bear’s Ears’.  Charles l’Ecluse (known as Clusius) is the first person known to have grown auriculas in a garden.  This was after 1573; he grew two kinds.  The first auriculas grown in England are illustrated first left above, in a woodcut from Gerard’s Great Herbal of 1596.  By 1639, at least 15 different colors and even striped forms were grown.  Auriculas were a popular plant beginning in the early eighteenth century when keen collectors began to grow and exhibit them in competitions.  These growers were called ‘florists’.  Several specialized classes of auriculas came into existence over the following centuries.  Potted plants were (and still are) exhibited in flower on black painted shelves in a stage-like display.  The black background highlights the beautiful colors of the flowers.  Auriculas do have an extremely wide color range, much greater than practically every other kind of flower.  The second picture shows a tawny-colored auricula, a color popular in the 1600s.  Auriculas were extremely popular in the nineteenth century, but curiously, are not well-known today.

Auriculas are native to the Alps and prefer gritty, moist, well-drained soil with a good amount of humus.  They are tolerant of alkalinity and extremely winter hardy to USDA climate zone 3, or even zone 2 if covered with snow all winter.  This means they are perfectly suited to growing all over Montana.  They are shade plants, especially when grown at lower altitudes.  The individual plants are small, only about 8 to 12 inches tall when blooming.  The engraving third from left depicts a garden auricula from 1908.  A gardener must watch that vigorous neighboring plants do not overtake them.  Being evergreen, they grow rather slowly.  I found that a mulch of sharp grit, about the diameter of turkey grit, is excellent for them and will discourage slugs.  Auriculas thrive when grown organically and enjoy soil amendments such as bone meal, composted manure, kelp meal, wood ashes, and grit for excellent drainage.

The classes of exhibition auriculas are usually grown in pots and are smaller and less vigorous than garden auriculas.  The pots used to grow them are taller than average, as the plants have a long tap root.  Growers commonly use an organic soil potting mix with added grit, bone meal and wood ashes.  Grit is especially important for drainage, but also for itsmineral content.  Indeed, the flowers have a wonderful mineral-floral fragrance unlike any other.  The last picture above shows a double exhibition auricula.

Auriculas are available from specialist growers as plants or seed.  I grow mine from seed planted in a fine, fast-draining seedling mix, covered with glass and placed in a shaded cold frame.  I plant seeds in late fall or winter, so the seeds have a cold period before they sprout in the spring.  The plants are usually large enough to pot on by midsummer.  Mature plants are best divided  midsummer.  I would urge gardeners to try auriculas; they are beautiful and rewarding to grow.  If grown in the garden, they might be best appreciated in raised beds, where their delicate flowers can be observed.

SOIL PH FOR GROWING VEGETABLES

Standard

FullSizeRender


Soil pH is a measure of acidity or alkalinity.  This measurement can range from a very low pH of 1.0 to an extremely high pH of 14.0.  7.0 is considered neutral and several vegetables will thrive in soil with a neutral pH.  Some vegetables do prefer a more acidic soil while others prefer a more alkaline soil.  Fortunately most will grow and produce well in a pH range of 5.5 to 7.5.   Areas with high rainfall, such as coastal Washington, tend to have acidic soils high in organic matter, while areas with lower rainfall, such as most of the mountain valleys in Montana, tend to have alkaline soils low in organic matter.  Here in the valleys of the Flathead region, where most of us garden, soils tend to be somewhat to highly alkaline.

Before you amend your existing soil to plant vegetables it is a good idea to test the pH.  An easy way is to purchase a test kit.  Most of them are easy to use and give fairly accurate readings.  Your county extension agent can do a soil test also.  Once you have determined your soil pH and which crops you intend to grow, you can amend your garden soil.  Adding lime will increase pH and make acidic soils more alkaline; adding sulfur will lower pH and make soils more acidic.  Organic matter usually helps reduce alkalinity.  Aged manure, pine needles, compost and coir dust are a few amendments that will help do this while they improve soil structure and encourage beneficial soil micro-organisms.  If your garden is divided into separate beds or raised beds, it is easier to adjust the soil in each bed for what you plan to grow.   I rotate my vegetable crops in a four-year rotation plan, so I try to keep a basic soil pH around 6.0 to 6.5.  This way I can grow almost every vegetable, but I slightly adjust pH each year before growing a particular plant.  For example, I add sulfur before growing potatoes.  Conversely, I add a small amount of lime before planting any of the Brassica family (Broccoli, Brussels sprouts, cauliflower, etc.).   Having soil pH correct for each crop will reduce pest and disease problems as well as increase yields.

Here is a listing of pH tolerance ranges for specific vegetables.  (The optimum pH for each is usually the median between the two extremes.)  I have listed vegetables preferring more acidic soils first and those preferring more alkaline soils last:

Potatoes, 4.5-6.0; sweet potatoes, 5.6-6.5; horseradish and rhubarb, 5.5-6.8; butternut squash, carrots, corn, eggplant, lettuce, peanuts, peppers, pumpkins and watermelon, 5.5-7.0; cucumbers, garlic, winter squash, and tomatoes, 5.5-7.5;  celery, 5.9-6.9; soybeans and strawberries, 6.0-6.8; onions, radishes, shallots and spinach, 6.0-7.0; beets, any of the Brassica family, peas, summer squash, Swiss chard, and zucchini, 6.0-7.5; okra, 6.0-8.0.


April Gardening Calendar

Standard

photo (133)

April is another busy month for gardeners; usually a month characterized by ups and downs in temperature.  Keep watch for frosts; protect cold frames with mats if frosts are imminent, and admit air daily as weather permits.  Finish pruning fruit trees if not done, plant grapes; fertilize and prune blackberries.  Check your fruit trees and roses for pests as soon as they bud and leaf out and set out apple pest traps two weeks before bud break.  Weed and amend all your beds now while it is cool and moist.

Finish planting fruit trees, shrubs, roses, and perennials.  This month is a good time to direct sow (where they are to flower)seeds of several flowers: sweet alyssum, cornflowers, carnations, pinks, poppies, stocks, rose campion, Lychnis, columbines, valerian, honesty, foxglove, snapdragons, mignonette, larkspur, kiss-me-by-the-garden-gate and four-o’clocks.  Perennials still may be divided if weather has not become too warm.  Violets can be divided after blooming and cuttings taken of pansies.  Make cuttings of chrysanthemums, gauras, Helianthus, lupines, Lychnis, Liatris, knautias, saponarias, scutellarias and veronicas.  Dahlias and tigridias may be started inside in cold climates and planted out later after frosts are over, or planted outside if the soil temperature is above 60 degrees F.

Several vegetables can be direct sown if weather permits and it is not too cold: beets, arugula, carrots, caraway, celery, chervil, chives, cilantro, dill, fennel, collards, mache, fava beans, cress, kale, Jerusalem artichokes, kohlrabi, leeks, lettuce, mustard greens, rhubarb, turnip greens, onions, pasley, parsnips, peas, potatoes, radishes, salsify, scallions, spinach and Swiss chard.  Sunflowers and tomatillos can be sown two weeks before the last expected frost.

Corn may be sown after April 15th in cool maritime northwest climates, or a week or two later in the inland and mountain areas.  Usually corn is sown about 10 days to two weeks before the last frost.  Native Americans of the Hidatsa tribe living in the Dakotas planted sunflowers first, then corn, and after frosts followed with beans and finally, squash.  Sunflowers were grown by themselves in a field, but corn, beans and squash were grown together; with corn in hills of 6-8 and beans and squash vining through.

Vegetables started last month indoors may be planted out this month: the brassicas, parsley, Asian greens, rhubarb and tomatoes; once frosts are over.

Prune established roses before bud break and seal the cuts with water-based glue or wood glue.  This prevents drilling wasps from injuring the canes.  Fertilize organically with Epsom salts, manure or compost, bone meal or rock phosphate, alfalfa meal and seaweed or wood ashes.

A few things maybe grafted now: grapes, hollies, pears, maples, pines and clematis.  Layers can be made of Cotoneaster, Cotinus, Hydrangea, Lavandula, Lonicera and Parthenocissus. 

Enjoy spring!

Starting Seeds Indoors

Standard

photo (127) photo (128)

Many of us get a good feeling from planting seeds and watching them grow when outside it is still dark and cold.  But inside, we are planning for spring planting.  We can start the varieties we want—perhaps a favorite is not available locally as a transplant or as seed; we can raise it ourselves from seed!

Most everyone I know has good luck starting seeds in a sterilized seedling mix.  It may be difficult to find an organic seedling mix; and it must be sterile or seedlings might dampen off from fungi present in the air and abundant in unpasteurized soil mixes.  A mix I make is soil free: 6 parts sterile (pasteurized)peat moss + 3 parts fine perlite + 1 part washed coarse sand.  If you are unsure if your mixture is sterile or not the mix may be heated in an oven at 160 degrees for one hour.  Do not allow the mix to heat above 180 degrees.  A mixture including compost would need to be sterilized by heating to use for seedlings.

Several types of containers might be used to start your seedlings.  In the first picture above, I used a milk carton cut laterally, providing two useful containers.  Shown are pepper seedlings.  Peat pots work well for plants that are difficult to transplant, because they minimize transplant shock and biodegrade into the soil.  Be sure to keep them quite moist once planted, because if the peat pots become too dry, roots will not penetrate the container.  Some plants that benefit from being raised in peat pots and are difficult to transplant are: portulaca, nasturtiums, sunflowers, poppies, eggplant, squash, cucumbers, melons and pumpkins.  Peat pellets also work, but they sometimes are so hard that roots have difficulty growing in them.

Timing is another important factor in raising seedlings.  Your transplants should be big enough to mature and produce in your season, but not too big, or they will not take off well and will take up a lot of room in the house.  Here is a basic seed planting guide, categorized month-by-month, of which seeds to plant at what time for success in northern climates of 100 to 170 days.  (Adjust timings to your local climate):

In January plant impatiens, begonias, geraniums and salvias.  Late January or early February is a good time to start eggplant, peppers, onions, petunias and pansies.  March is probably the best month to start cole crops (brassica family).  April is a good time to start tomatoes and balsam; late April or early May for pumpkins, squash, melons, cucumbers, and nasturtiums.

Florescent grow lights with an adjustable chain are a great help in starting nice seedlings; the lights can be lowered with the chain to keep the newly emerged seedlings in bright light.  This will prevent your plants from getting “leggy”.   Temperatures vary for germination: cole crops about 65 degrees, onions about 70, tomatoes about 75 and eggplant, peppers, squash, melons, cucumbers and nasturtiums about 80 degrees.

Make sure your seedling mix is not too wet.  Some seeds like to germinate on the dry side, such as tomatoes and peppers.  I cover my newly-planted seeds with plastic wrap, but check them twice daily for moisture and rotate them if necessary.  Once the seeds are just up, I loosen the wrap (a little more each day) to harden the babies off to the air.  Grow your plants on in cooler conditions than you germinated them and they will grow stockier.  A cold frame is just about the best place you can put them if it is not too cold outside.  In a south-facing cold frame the soil will remain warm at night, and daytime venting will give the plants fresh air.  Keep shade cloth handy if it tends to get too hot during the day in your area.  This is a common occurrence in dry, sunny climates with warm days and frosty nights.  The second picture above shows newly transplanted seedlings in a cold frame vented for the day.  A cold frame will harden-off your plants before planting out.  Don’t forget to place open-ended containers around plants as you place them in the garden to deter cutworms.  Good luck!

Growing Asparagus

Standard

photo (119)

Asparagus (Asparagus officionalis) is a popular vegetable today and was quite popular in the nineteenth century.  The photograph above is of an antique variety, ‘Giant Asparagus’ an engraving from The Illustrated London News, dated 1851.  An asparagus knife is shown alongside the plant.  This year, I grew another old variety of asparagus from seed, ‘Connover’s Collosal’, dating to the second half of the nineteenth century.   It is difficult to find plants of heirloom varieties of asparagus, so one has to start them from seed.  However, the process is slow, as the plants take three to four years to reach the size for harvesting.  (If too many shoots are cut from very young plants, productivity may be reduced, or the plants may die.  But if the plants are allowed to become established, an asparagus bed will last twenty years or more, even up to fifty years!)

Late March into early April is an excellent time to start asparagus from seed.  Use a sterile medium, cover the seed about 1/4 inch deep and place the pots in a warm location (77 degrees is optimum).  The seeds should come up in about ten days.  You may direct seed into a bed if soil temperatures are above 50 degrees, it will just take a little longer for the seeds to germinate.  Asparagus plants begin to grow slowly and will not be ready to transplant out for about three or four months.  Meanwhile you can prepare a bed for them.  An ideal spot is in full sun with a bed large enough to accommodate the number of plants you need.  It is usually recommended to plant five to six plants per person.  Since the plants are perennial (USDA climate zones 4-9) they benefit from a well-prepared bed.  Peter Henderson, in his book Gardening for Profit published in 1867, recommended planting transplants nine inches apart in rows three feet wide for commercial growers, or two feet wide for home gardeners.

Once you have established how many plants you need, you can make the planting bed.  Henderson recommended trenching the bed two to three feet deep with about three inches of rotted manure mixed into the soil.  A deep sandy loam is best for them as they are native to alluvial soils.  Bernard Mc Mahon, in Mc Mahon’s American Gardener, published in 1857, recommended double digging two spades deep and placing several inches of rotted manure in the trench, then spreading another layer of rotted manure over the surface.  He directed gardeners to mix this second layer of manure with the soil to a depth of eight to ten inches.  My young plants, now a year old, have spears a little larger in diameter than a toothpick.  The young plants may be grown in a temporary (sunny) rich bed for another year, then moved to their permanent location.  Place the crowns of the plants two inches below the soil surface.  Keep the beds weeded to ensure quick, even growth.  Mc Mahon recommends three years from planting (which would be four years from sowing seed) before cutting can begin.  Dress the bed every spring with rotted manure, bone meal and wood ashes.

If your family really enjoys asparagus, plant more than five plants per person; I plant twelve per person.  If you plant two-year transplants, spread the roots out like the spokes of a wheel and cover with about one inch of prepared soil.  Water well.  As the plants grow, cover them with more soil until you have them two inches under.  Do not use fresh manure as it will burn them and (heaven forbid) do not use chemical fertilizers, especially on newly planted asparagus.  Wait two years to begin cutting.  A summer mulch of three inches of straw is excellent, will protect the plants in winter and the spears will come up earlier in the spring if the ground is not frozen too deeply.

When you cut asparagus spears get them into the refrigerator right away or cook them immediately because they lose flavor as quickly as sweet corn does.   Considering how expensive asparagus is, I find the start up work well worth while.  Enjoy!

March Gardening Calendar

Standard

photo (118)

This photo is of a double blue primrose seedling, blooming now in Corvallis, Oregon.

March is a very busy month for gardeners.  Root crops stored from the previous year and planned to produce seed can be planted out late in the month after the soil thaws (cabbages, celery, lettuce, leeks, onions, parsnips).  Planting time will arrive soon, or has already arrived for those of you in mild climates.  Weed and clean borders and vegetable beds, plant perennials, sow seeds of hardy annuals, plant rhubarb, asparagus, sea kale and artichokes.   Plant and/or prune cane fruits and fruit trees (cherries, apples, peaches, apricots, pears, plums, currants, gooseberries, etc.).  Check cold frames on a regular basis, venting as needed and closing the glazing panels at night.  Watch temperatures in the greenhouse also, as March is a month of ups and downs in temperature.  Manure and other organic soil amendments (epsom salts, seaweed meal, alfalfa meal, greensand, bone meal, compost and wood ashes) can be spread over vegetable, fruit, flower and rose beds.  Grape vines can be manured now, leaving space around the stem; treat roses in the same manner.

Many vegetables can be sown indoors now for transplanting out later: cole crops (brassicas), onions, lettuce, peppers, eggplant and leeks.  Some vegetables can be direct sown outside if weather permits and if your soil is not too wet to work: arugula, carrots, corn salad, fava beans, cress, mustard and turnip greens, onions, peas, radishes and spinach.  Celery and lettuce can be direct sown into frames.  Several vegetables and fruits can be transplanted now: raspberries, blackberries, strawberries, asparagus, horseradish, head lettuce, onion sets and plants and perennial herbs.  Make sure your mushroom beds do not get too wet; replace straw if wet.

Potted auricula primroses should be protected from rain and frosts; they will begin to bud soon.  Sow any remaining auricula and primrose seeds.  Herbaceous perennials can be divided and planted now.  Many hardy annual flowers may be sown during March: larkspur, sweet peas, lychnis, nigella, lavatera, poppies, kiss-me-by-the-garden-gate and sweet alyssum.  Inside the greenhouse sow: petunias, impatiens, pansies, alyssum, chrysanthemums, iceplants, portulacas, salvias, snapdragons, sweet Williams, ten-week stocks, mignonette, hesperis, Shasta daisies, hibiscus, lupine and Salvia x superba.

Roses and other shrubs may be layered now, and cuttings may be made of geraniums, myrtles and hydrangeas.  If you want to plant a hedge from seed, now is the time to sow seeds of hawthorns, stone fruits, roses and other hardy shrubs you might like to use.  The young plants can be transplanted out to their permanent positions later.

Happy Spring!


SCENTED GERANIUMS (PELARGONIUMS)

Standard

photo (106) photo (107) photo (108) photo (109) photo (110)

Scented plants were extremely popular in the sixteenth through nineteenth centuries.  People grew them in their gardens and on windowsills.  Today, bright colorful flowers hold the public’s interest and we do not often see plants grown primarily for their fragrance.  Scented geraniums (botanically classified as Pelargoniums), while not as showy as their modern hybrid cousins, the zonal (P. x hortorum) and Martha Washington (P. x domesticum) geraniums, are delightful and charming.  The scented varietes are attractive, easy to grow plants that release their fragrance when touched.

Scented geraniums are native to coastal South Africa.  The first plants to arrive in Europe were brought by Dutch traders in the sixteenth century.  Several species exist in the wild and hybridization has taken place over the long time since they were brought into cultivation.  The second picture from the top, above, is of P. graveolens, known as ‘True Rose’.   It dates to 1787 and is one of the oldest still grown today.  It has a healthy, robust habit and delightful rose scent.  ‘Grey Lady Plymouth’ is illustrated in the third photo from the top.  It dates from 1802 and is a P. graveolens hybrid with a rose, fruit and spice scent.  Its leaves are beautifully cut and margined with a thin white line. The very rare ‘Skeleton Rose’, also known as ‘Dr. Livingston’ is another old P. graveolens hybrid from the nineteenth century or earlier, with beautiful, deeply cut lemon and rose-scented foliage.  This variety seems to prefer soil with a lower pH (more acidic) than the others.  The top photo shows foliage and flowers of ‘Fair Ellen’ an old hybrid of P. quercifolium  and has, as you would expect from the Latin name, oak-shaped leaves, scented of rich fruit and spice.  The bottom photo shows potted scented geraniums wintering on a cool porch.  The plant on the right is ‘Skeleton Rose’.  On the left is the rather large velvet-leaved P. tomentosum known as ‘Peppermint’.  It has a true mint scent.  This variety is the most sensitive to heat and is the first to curl its leaves and wilt if it is in too hot a location.  Many more species and old hybrid scented geraniums exist, but they are hard to find.  I am collecting them as I come across them (and when I have the cash to buy them).  Many scents and hybrids were once available, including: apricot-scented, nutmeg-scented, filbert-scented, spice-scented, lemon-scented, apple-scented, almond-scented and orange-scented.  Louse Beebe Wilder, in her wonderful book ‘The Fragrant Path’, reprinted as ‘The Fragrant Garden’, mentions a person she knew as a child who owned a collection of over 100 varieties of scented geraniums.  In her book, she lists 18 species and hybrids still available years later— in 1932.  She complained that many had disappeared or were very hard to find.  This seems true today, though plants are available from two sources that I can recommend: Logee’s Greenhouses http://www.logees.com and Select Seeds http://www.selectseeds.com.  Both of these sources are in the eastern U.S.  Seed for scented species can sometimes be sourced; this season I have started seeds of P. grassularioides, the coconut-scented geranium.  Seed came from Terroir Seeds htpp://www.UnderwoodGardens.com.

Scented geraniums are not difficult to grow. They prefer a somewhat cool, sunny atmosphere and a medium level of humidity.  A sunny south facing window on a cool porch is very much to their liking in winter.  That season is a rest period for the plants.  Do not water them very much in winter, but let them almost wilt; then water.  I make an organic soil mix with compost, bone meal, greensand, wood ashes and sharp sand or perlite (1/4 to 1/3 part of the potting mix, for excellent drainage).  My plants really like this mix and I never need to fertilize.  In early spring growth begins and picks up speed into summer, so watering is increased.  It is best to let the plants become nearly dry— avoid overwatering.  During the heat and bright sun in summer, some of the plants may begin to flag, so it is best to put them in an east window or provide light shade and a cooler location.  I repot my scented geraniums once a year, unless growth warrants additional repotting.  Otherwise, it is best to do so in summer.  Softwood cuttings can be made anytime from April through July.  If a plant is repotted in early autumn, cuttings may be taken then also.


Designing A Garden For Heirloom Plants

Standard

photo (92) photo (93) photo (94) photo (95) photo (96) photo (97) photo (98) photo (99)

Winter is an excellent time for gardeners to plan garden designs as there is minimal activity outside this time of year, epecially in northern climates.  As soon as soil can be worked you can begin executing your project.  In southern and low desert climates it is also a good time to plan your garden and build it because the cool temperatures make it easier to do heavy physical labor.

This last year I designed and built a garden in Early American style to hold my collection of antique roses, fruits, flowers and vegetables.  I had several goals: create a design based on historic models; maximize use of space and efficiency; minimize maintenance labor; use local materials, protect plants from predation and create the best growing conditions possible.  The first picture above depicts an American garden design plan from the late eighteenth century.  The original drawing is archived at the Essex Institute in Salem, MA.  My photo is taken from British and American Gardens of the Eighteenth Century, edited by Robert P. Maccubin and Peter Martin; The Colonial Williamsburg Press, 1984.  This style of design and use of space has its roots in Medieval gardens of Europe.  The plan is formal; beds are edged by timbers, are often raised or slightly raised and mud-free (and/or weed-free) paths separate beds.  This formal style is quite convenient to tend: crops can be separated and rotated; soil pH, texture and drainage can be adjusted from bed to bed, and some beds can be high water-use, while others may be medium or low water-use.  I find it convenient to place high water-use beds nearest the house and low water-use beds farthest away.

The second photo above is of my garden design for my garden in Corvallis, Oregon.  I measured the entire site, then made the drawing to scale on graph paper.  I used cut-out pieces of colored paper for structures such as the greenhouse, cold frames and porches.  I made labeled pieces of graph paper to indicate trees and shrubs.  The cut-out pieces can be moved around over the drawing until you determine where you want everything to go.  Shade is an issue in this garden, so sun-loving and shade tolerant plants were placed accordingly.

When the design was finished, trees and shrubs that cast heavy shade were removed or moved to new location; materials and workmen were sourced.  Tree and shrub roots were ground and removed.  Soil leveling was undertaken, then fences were built.  We tilled the soil, as seen in the third photo above, then raked the grass and roots into piles approximating the location of beds.  We had such a hot summer that the grass roots quickly died.  They provided immediate organic material for the soil.

We measured and drew out my design with spray paint and began to build our boxed beds.  I used 2′ x 12′ cedar lumber anchored in place with metal spikes set in concrete.  The fourth photo shows bed construction in the back yard garden.  Trenches 6 inches deep were dug to lay the timbers into.  Now we had beds raised six inches above the original soil level and 4 inches above planned level of the gravel.  This enabled us to use the native soil and amend it with 4 to 5 inches of compost, manure, greensand, wood ashes, alfalfa meal and bone meal (See the fifth photo above of the front garden).

After soil preparation, planting could begin.  The sixth photo above is a shot of the back garden two weeks after planting.  Vegetables grew quickly in the wonderful, organically amended soil.  The front garden was finished and planted a few weeks later (the seventh photo above).  The front beds were planned for bulbs, perennials and shrubs that use little or no additional water in our climate.  I do have to water the rose bed bordering the fence; watering deeply but infrequently once the roses are established.

The last photo shows one of the large 3′ x 3′ wooden tubs newly planted with ‘Blue-Podded Blauwschokker’ peas, which date to the sixteenth century.

The entire construction project took six months, from design to planting.  For a labor force we had two people working part time and one person working full time.  The garden is planted with heirloom plants dating from the ancient Greco-Roman period through the Oregon Trail Era (1830-1869).  Also included are a few more recent varieties, dating before and up to 1925, when the house was built.


IMPROVING YOUR SOIL

Standard

photo (91)

The quality of your garden soil is an important consideration in growing heirloom fruits, vegetables and flowers as soils come in a wide variety of textures and materials.  Soil texture describes the size of the mineral particles in your soil.  Soil particles in order of size, from smallest to largest, are: clay, silt, fine sand, medium sand and coarse sand.  The ideal garden soil (for most plants) is a loam soil, which carries particles of clay, silt and sand, plus organic matter.

Soil structure refers to the way soil particles bind together to form clumps.  In soils with good structure the spaces between particles are large enough to ensure good drainage but do not dry too quickly.  The best garden soil, loam soil, drains fast enough for root health but retains enough moisture for continued satisfactory growth.  Adding amendments to soils will improve its structure and provide food for beneficial microbes.

Another consideration to address before you add amendments to the soil is to test the pH— the measure of acidity to alkalinity in your native soil.  A pH of 7 is considered neutral and many plants are adapted to this condition.  A pH above 7 is considered alkaline while a pH below 7 is considered acid.  A pH test can serve as a guide to which plants you might be able to grow with ease and others that might be more difficult.  It is easier to make soils more alkaline, but difficult to acidify them.  Even though you may add sulfur or aluminum to your soil to acidify it, the subsoils beneath will remain alkaline and eventually the alkalinity will return, especially if your water is alkaline.  This makes it difficult to grow plants such as camellias, rhododendrons and azaleas (which prefer acid soil) in regions with alkaline soil and water.  Adding lime or crushed shells to acid soils will increase soil alkalinity.

One consideration in growing heirloom plants is to research soil amendment ingredients and practices used in the 19th century, as most of the plants still in existence from that era and before were selected under those soil conditions.  I am an organic gardener using these time-tested methods and believe that building your soil is crucial to long term success.  By amending your soil with such things as greensand, sulfur, bone meal, kelp meal and manure, you will enrich it and create a productive environment for soil bacteria.  You can choose from composted cow, hog or horse manure, alfalfa meal, cottonseed meal and guano or chicken manure to add significant nitrogen to your garden soil.  These all contain small levels of potassium and potash.  Bone meal, hoof and horn meal are excellent sources of potassium.  Kelp meal, wood ashes and greensand are significant sources of potash.  Greensand also contains many trace minerals.  Keep in mind that bone meal is somewhat alkaline and wood ashes are quite alkaline.  Home made compost is always valuable and usually contains a fair amount of nitrogen with smaller mount of potassium, potash and trace minerals.  Another option to improve soil is to plant cover crops and till them under.  Clover, rye, lentils, field peas, vetch and buckwheat are some examples.

This is the time of year to plan for improving your soil.  As soon as the ground thaws you can test the pH and as soon as soil becomes workable (not too wet to dig) you can add amendments.  It is important to learn as much as you can about what type of soil each plant you plan to grow prefers, for long term success.  For example, brassicas (cole crops like cabbage) have fewer pest problems and greater production in slightly alkaline soils.