


Winter is an excellent time for gardeners to plan garden designs as there is minimal activity outside this time of year, epecially in northern climates. As soon as soil can be worked you can begin executing your project. In southern and low desert climates it is also a good time to plan your garden and build it because the cool temperatures make it easier to do heavy physical labor.
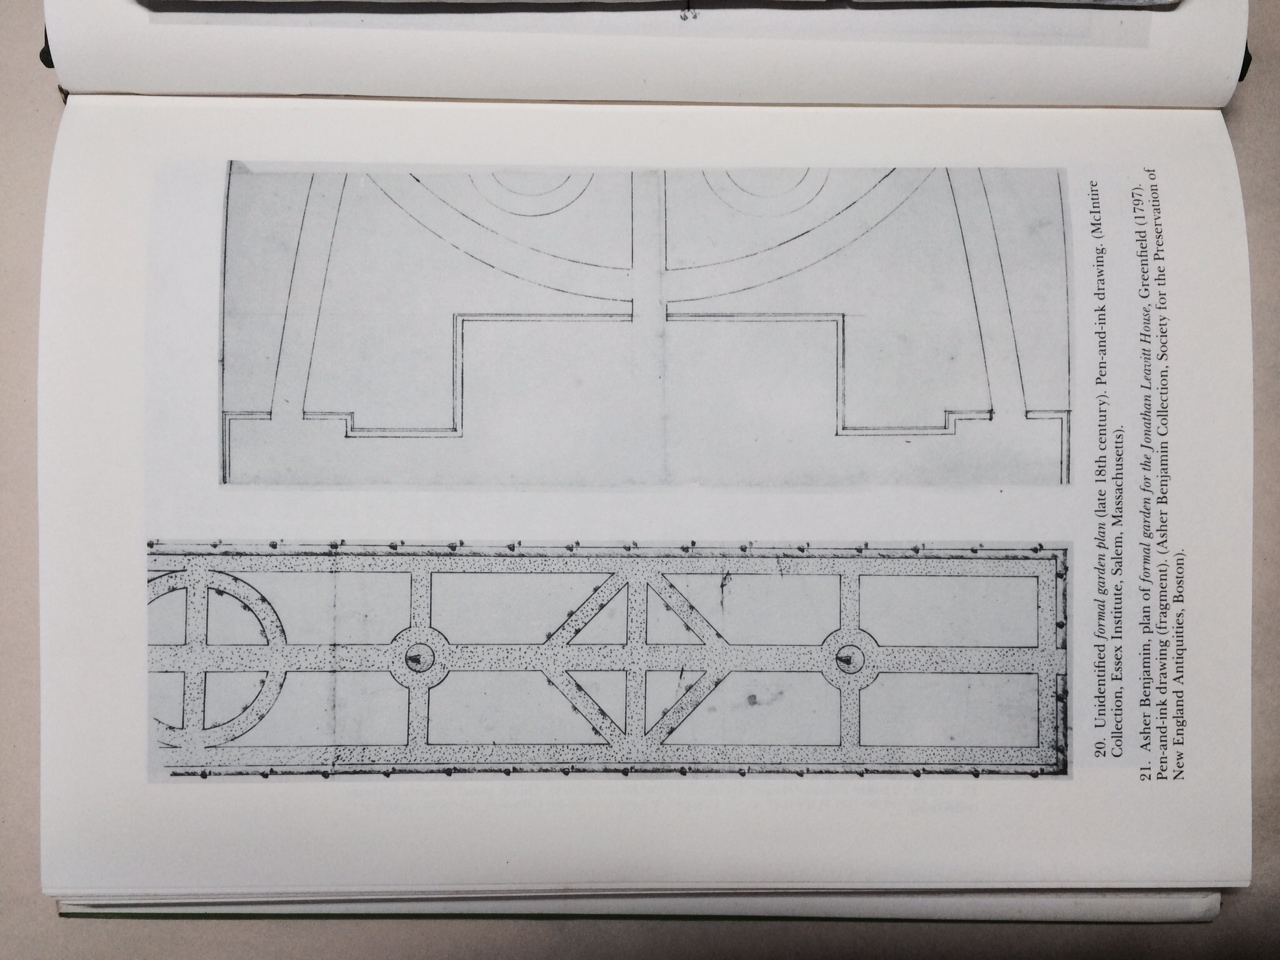
This last year I designed and built a garden in Early American style to hold my collection of antique roses, fruits, flowers and vegetables. I had several goals: create a design based on historic models; maximize use of space and efficiency; minimize maintenance labor; use local materials, protect plants from predation and create the best growing conditions possible. The first picture above depicts an American garden design plan from the late eighteenth century. The original drawing is archived at the Essex Institute in Salem, MA. My photo is taken from British and American Gardens of the Eighteenth Century, edited by Robert P. Maccubin and Peter Martin; The Colonial Williamsburg Press, 1984. This style of design and use of space has its roots in Medieval gardens of Europe. The plan is formal; beds are edged by timbers, are often raised or slightly raised and mud-free (and/or weed-free) paths separate beds. This formal style is quite convenient to tend: crops can be separated and rotated; soil pH, texture and drainage can be adjusted from bed to bed, and some beds can be high water-use, while others may be medium or low water-use. I find it convenient to place high water-use beds nearest the house and low water-use beds farthest away.
The second photo above is of my garden design for my garden in Corvallis, Oregon. I measured the entire site, then made the drawing to scale on graph paper. I used cut-out pieces of colored paper for structures such as the greenhouse, cold frames and porches. I made labeled pieces of graph paper to indicate trees and shrubs. The cut-out pieces can be moved around over the drawing until you determine where you want everything to go. Shade is an issue in this garden, so sun-loving and shade tolerant plants were placed accordingly.
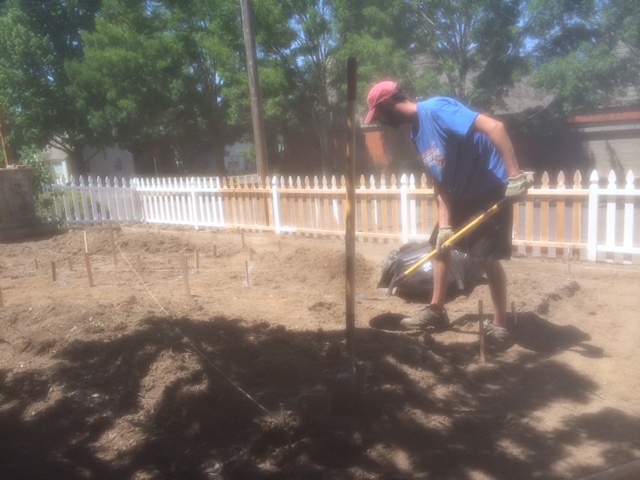
When the design was finished, trees and shrubs that cast heavy shade were removed or moved to new location; materials and workmen were sourced. Tree and shrub roots were ground and removed. Soil leveling was undertaken, then fences were built. We tilled the soil, as seen in the third photo above, then raked the grass and roots into piles approximating the location of beds. We had such a hot summer that the grass roots quickly died. They provided immediate organic material for the soil.
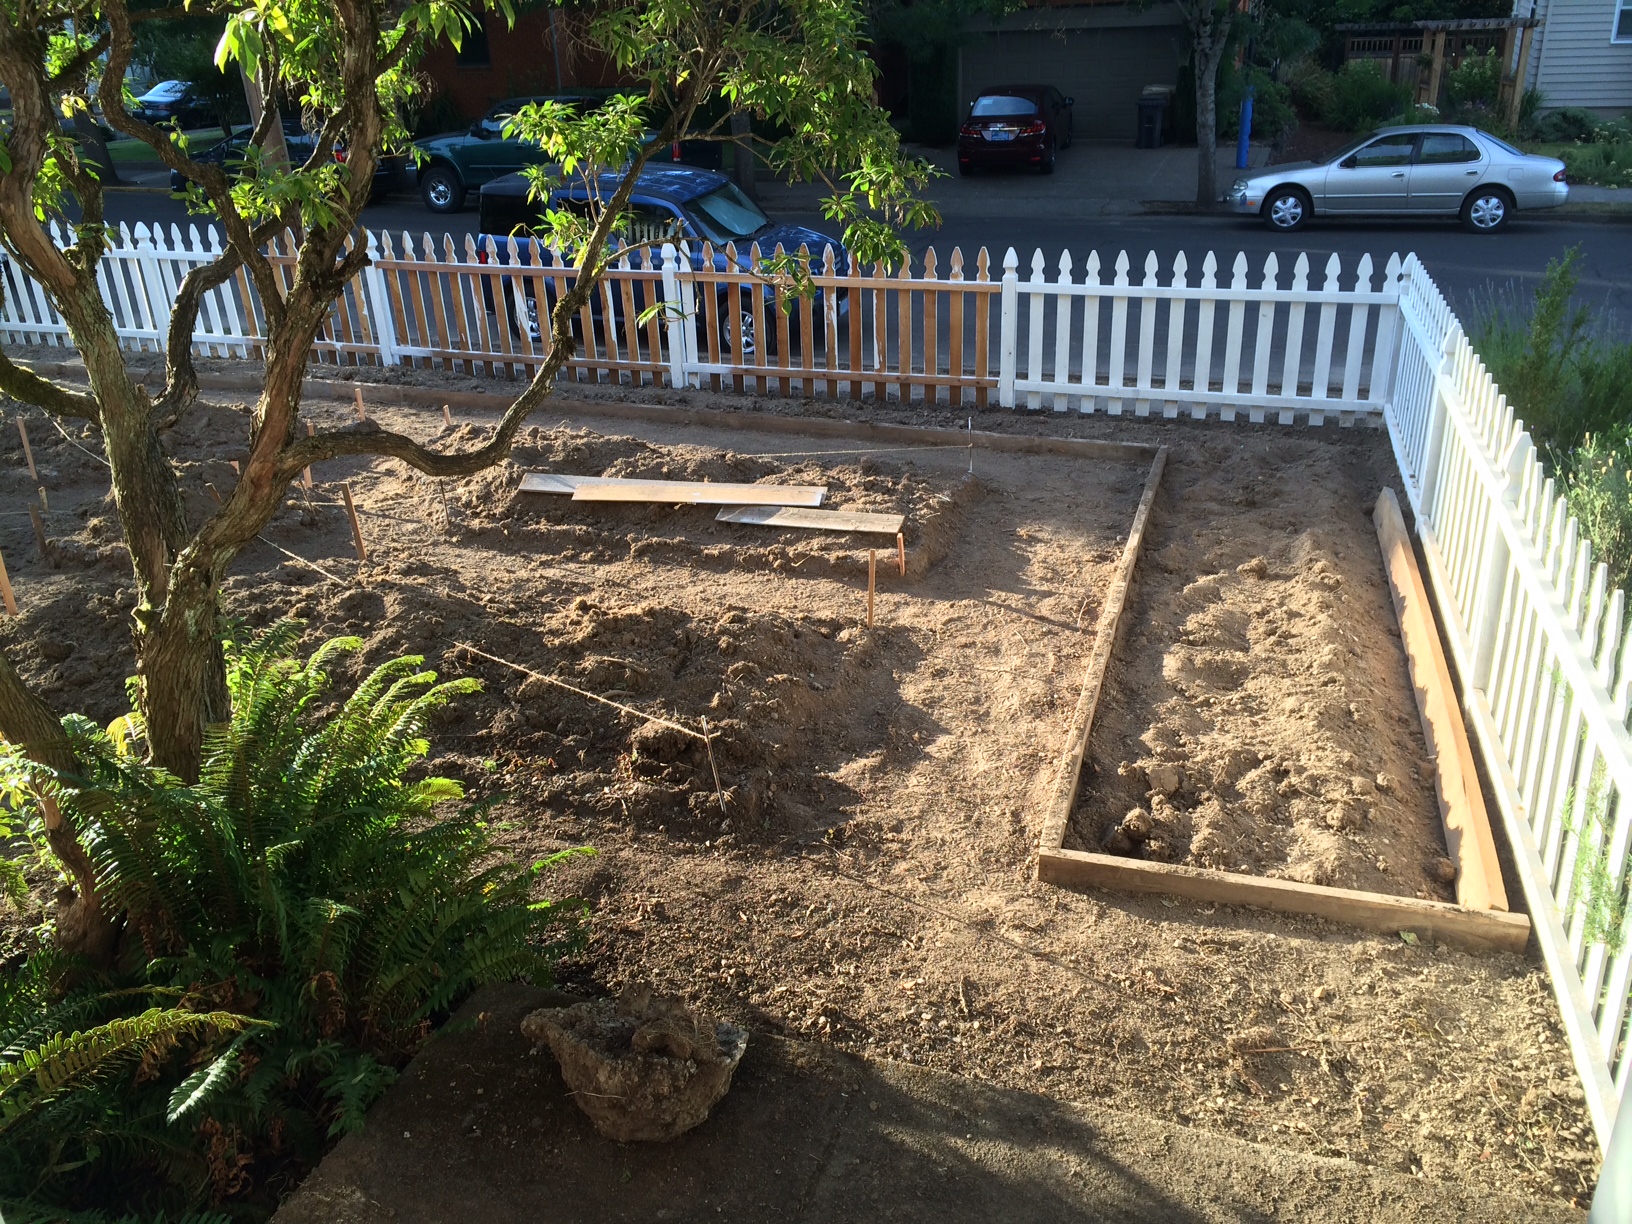
We measured and drew out my design with spray paint and began to build our boxed beds. I used 2′ x 12′ cedar lumber anchored in place with metal spikes set in concrete. The fourth photo shows bed construction in the back yard garden. Trenches 6 inches deep were dug to lay the timbers into. Now we had beds raised six inches above the original soil level and 4 inches above planned level of the gravel. This enabled us to use the native soil and amend it with 4 to 5 inches of compost, manure, greensand, wood ashes, alfalfa meal and bone meal (See the fifth photo above of the front garden).
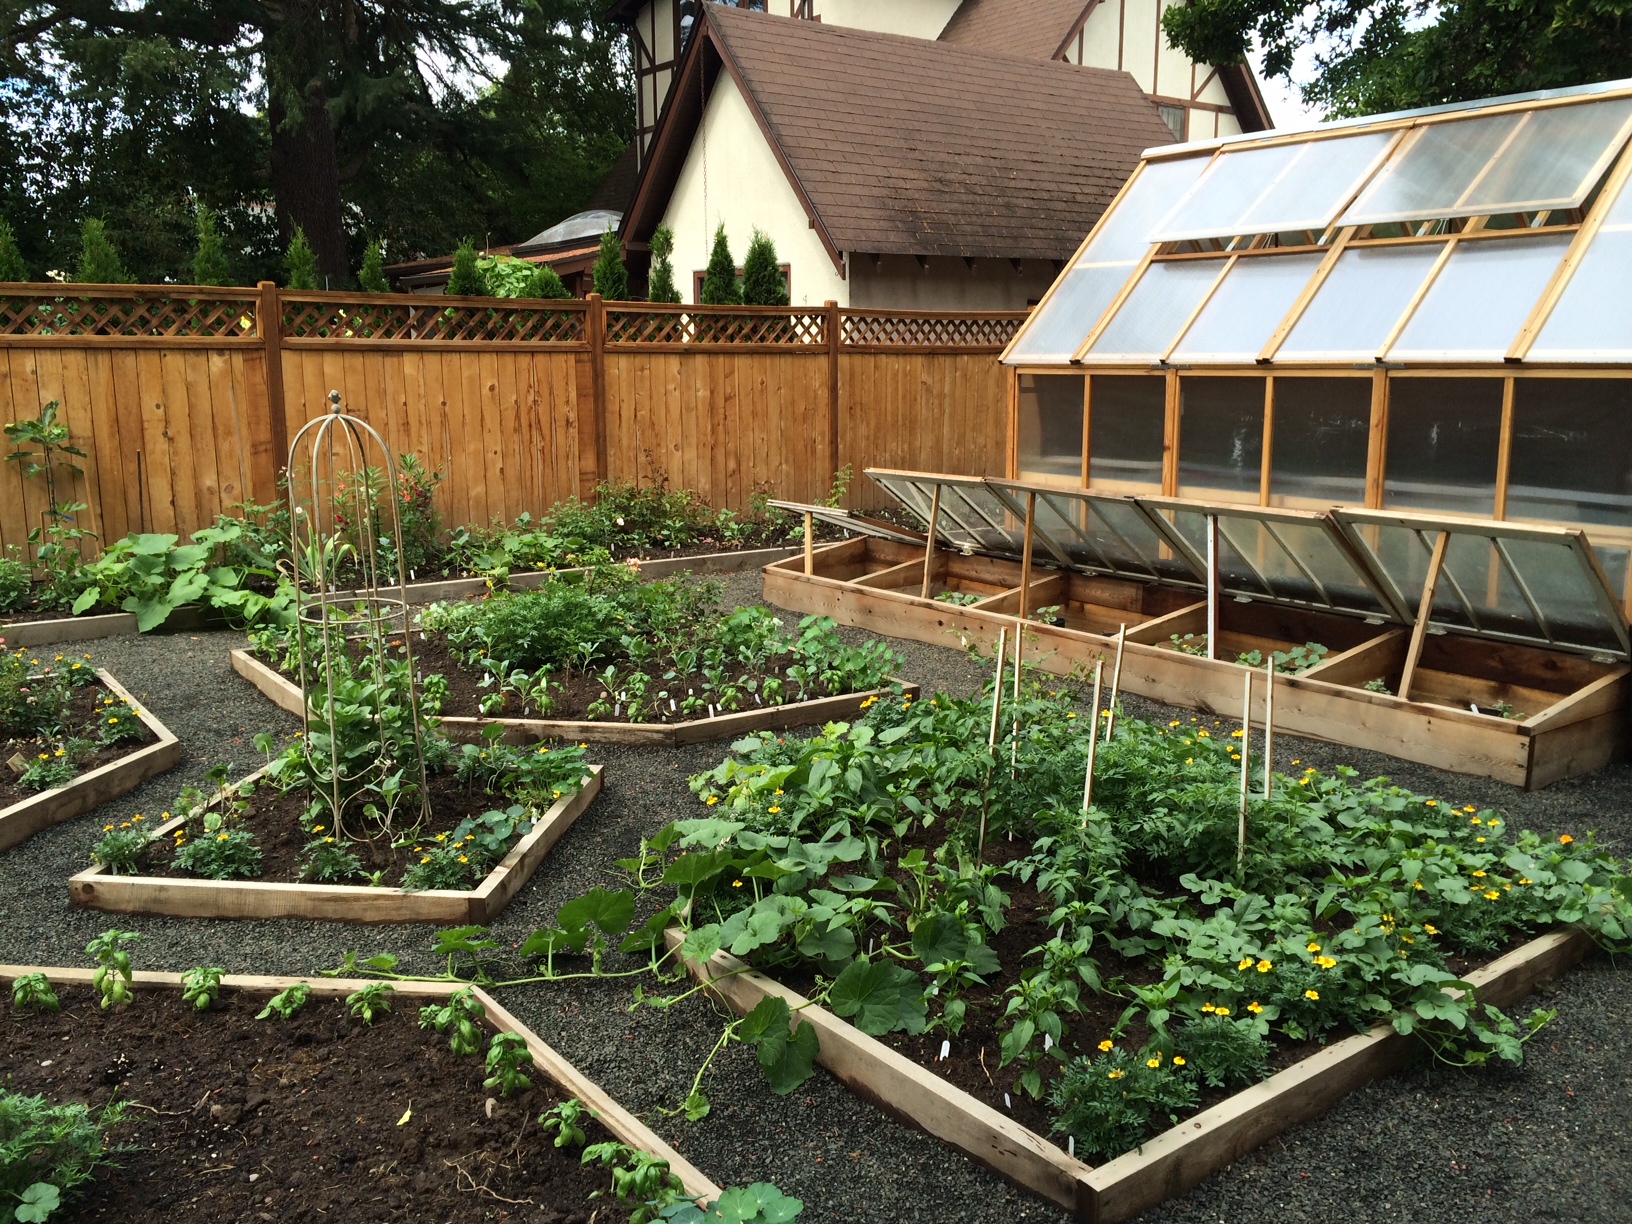
After soil preparation, planting could begin. The sixth photo above is a shot of the back garden two weeks after planting. Vegetables grew quickly in the wonderful, organically amended soil. The front garden was finished and planted a few weeks later (the seventh photo above). The front beds were planned for bulbs, perennials and shrubs that use little or no additional water in our climate. I do have to water the rose bed bordering the fence; watering deeply but infrequently once the roses are established.
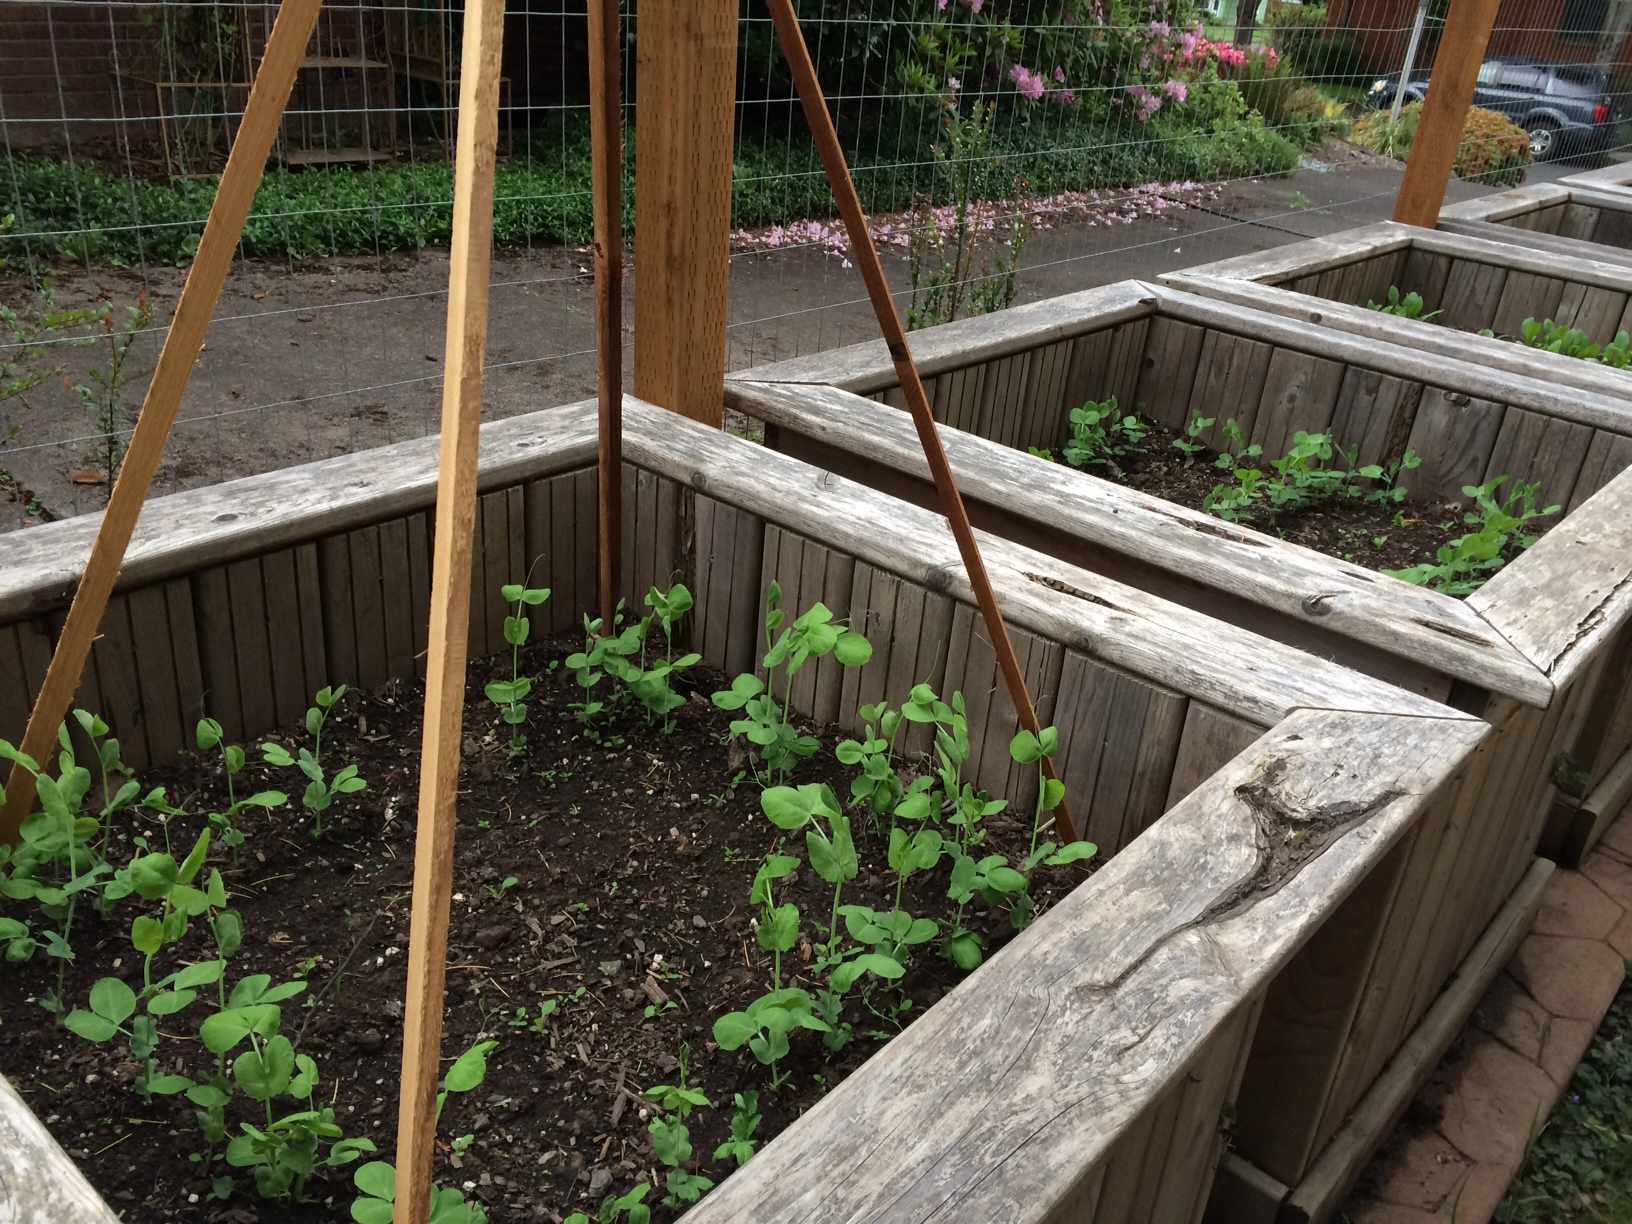
The last photo shows one of the large 3′ x 3′ wooden tubs newly planted with ‘Blue-Podded Blauwschokker’ peas, which date to the sixteenth century.
The entire construction project took six months, from design to planting. For a labor force we had two people working part time and one person working full time. The garden is planted with heirloom plants dating from the ancient Greco-Roman period through the Oregon Trail Era (1830-1869). Also included are a few more recent varieties, dating before and up to 1925, when the house was built.